![]()
I love the Nightmare Before Christmas, mainly because of the concept of making cute Christmas toys evil. I made the bloody toy duck from the movie last year, and wanted to expand my collection to display at our annual Halloween party. I’m constantly on the lookout for ideas!
Zombie Nutcracker
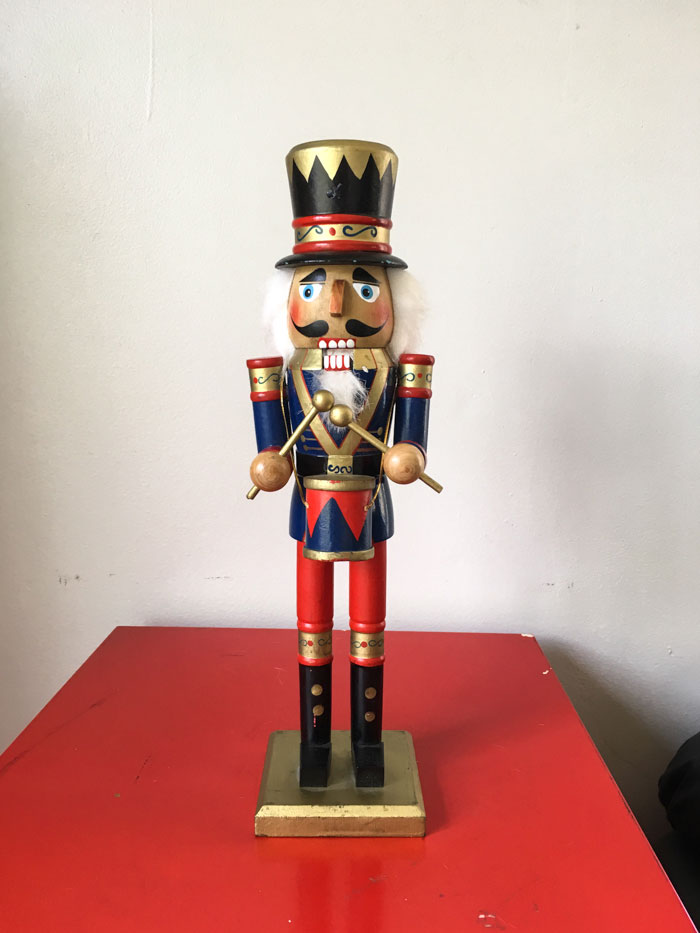
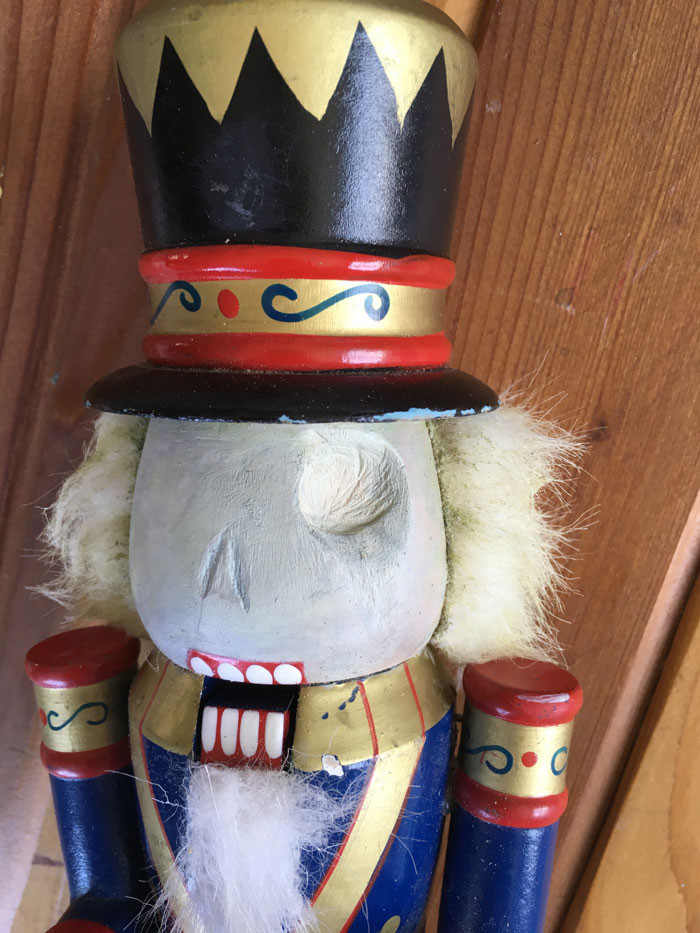
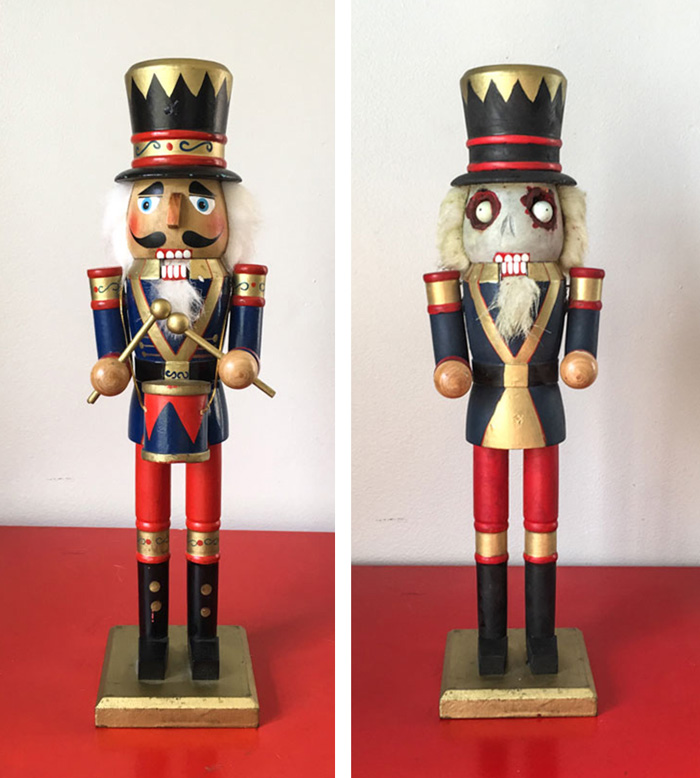
I was at a local thrift store one day when I came across a fun classic nutcracker for $5. I could easily envision him as one of my new Halloween crafts. So I took him!
Materials
- A nutcracker (mine is similar to this one on Amazon)
- Acrylic paint (this is a great starter set)
- Drill
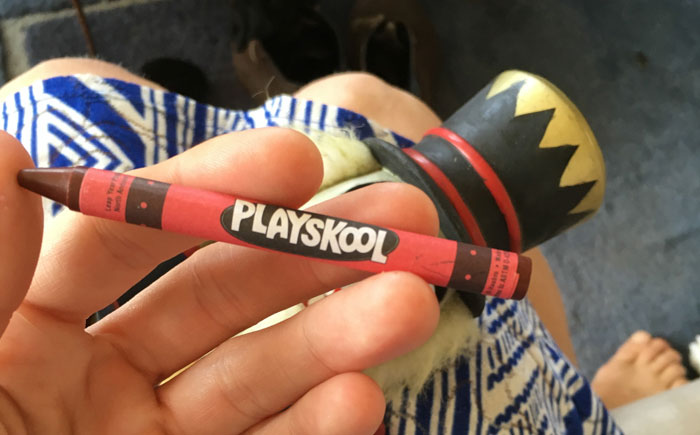
- Red crayon
Step 0: Reference Photos
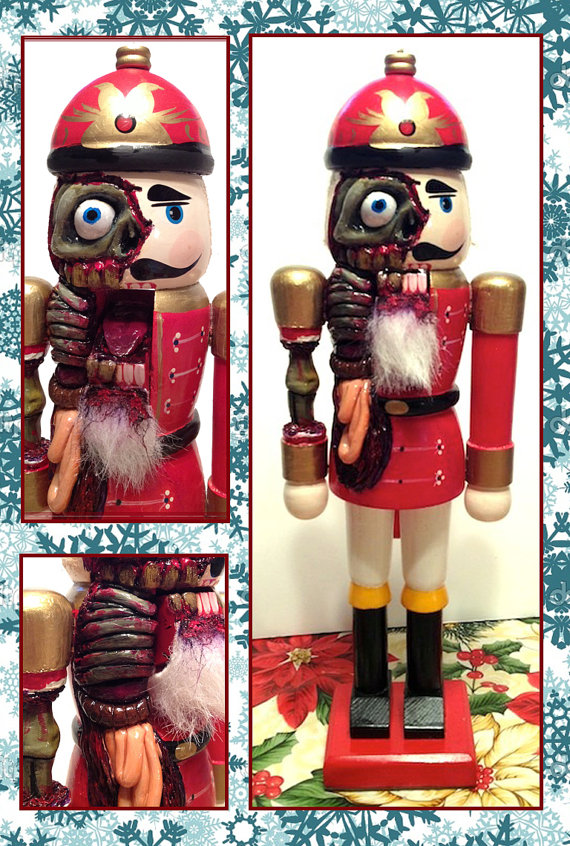
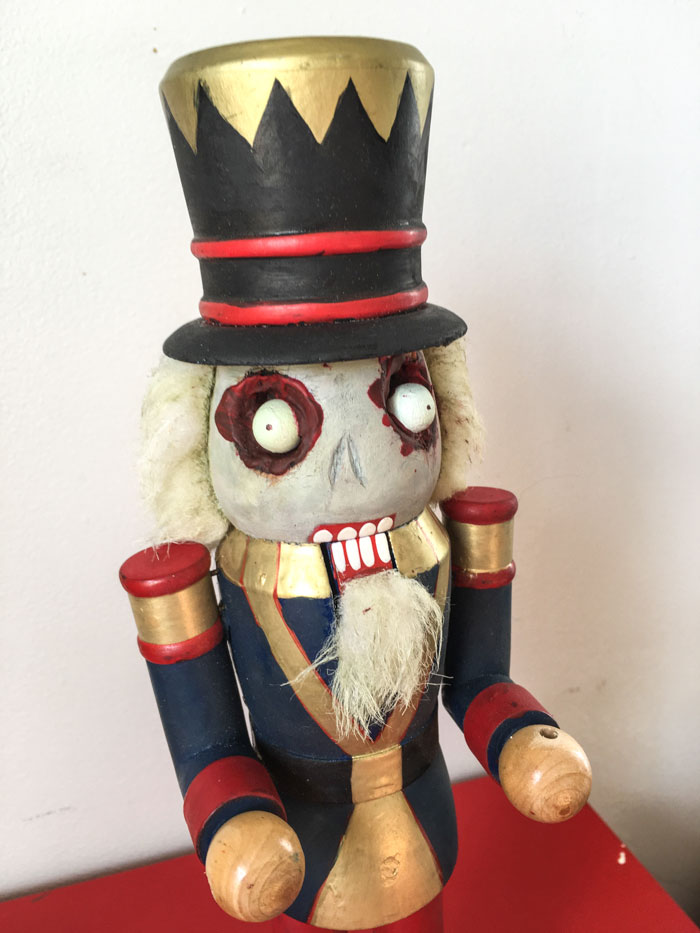
Always gotta start with those reference photos! My favorite zombie nutcrackers (the first photo) are from the artist ZombieNutcrackers who actually sells them (during Halloween I think) on Etsy here.
This one is also pretty clever. Love the severed hand and exposed brain.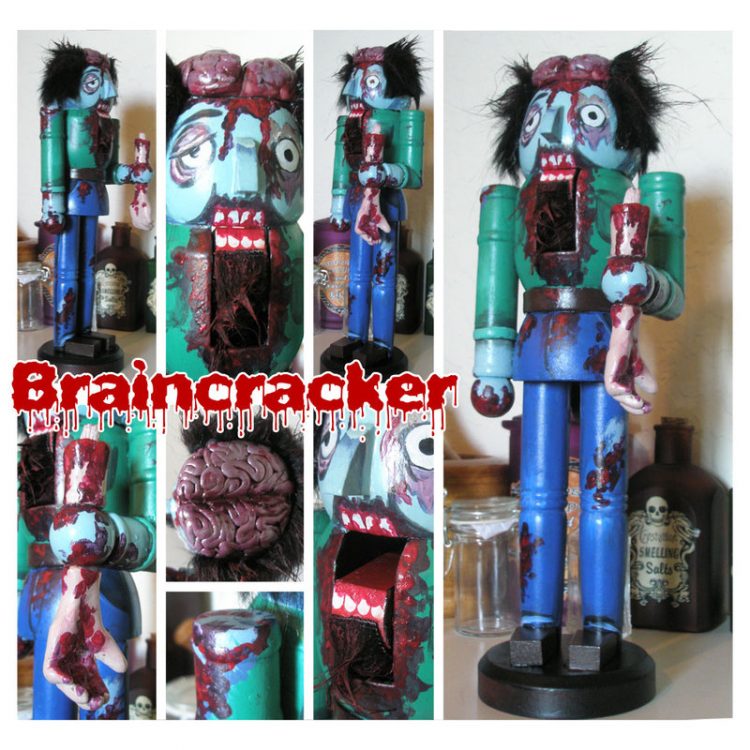
In the end I decided that the first one was a bit too intensive for me—I didn’t know enough about wood carving to really “expose” guts. And the second was a bit too bloody. I wanted something that almost felt like a classy holiday decoration….but in an insane person’s house.
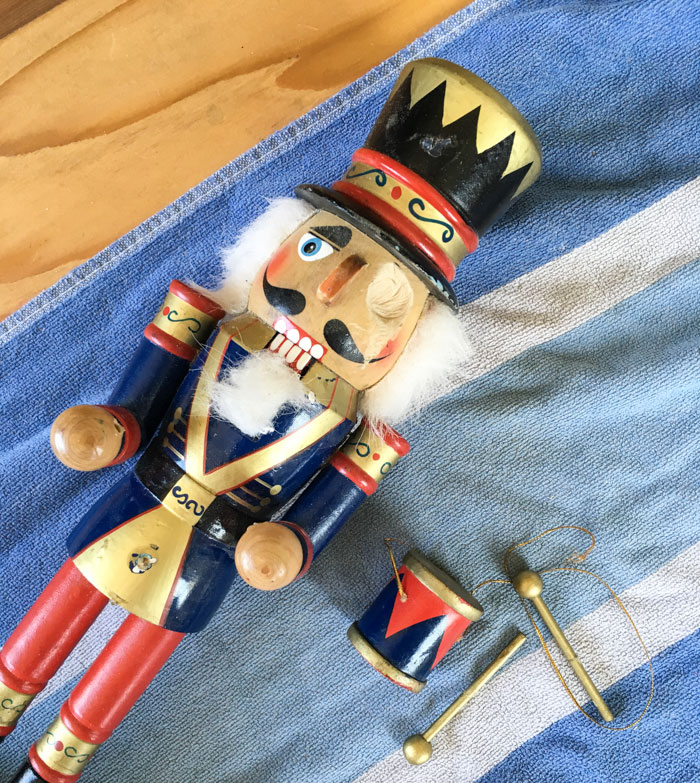
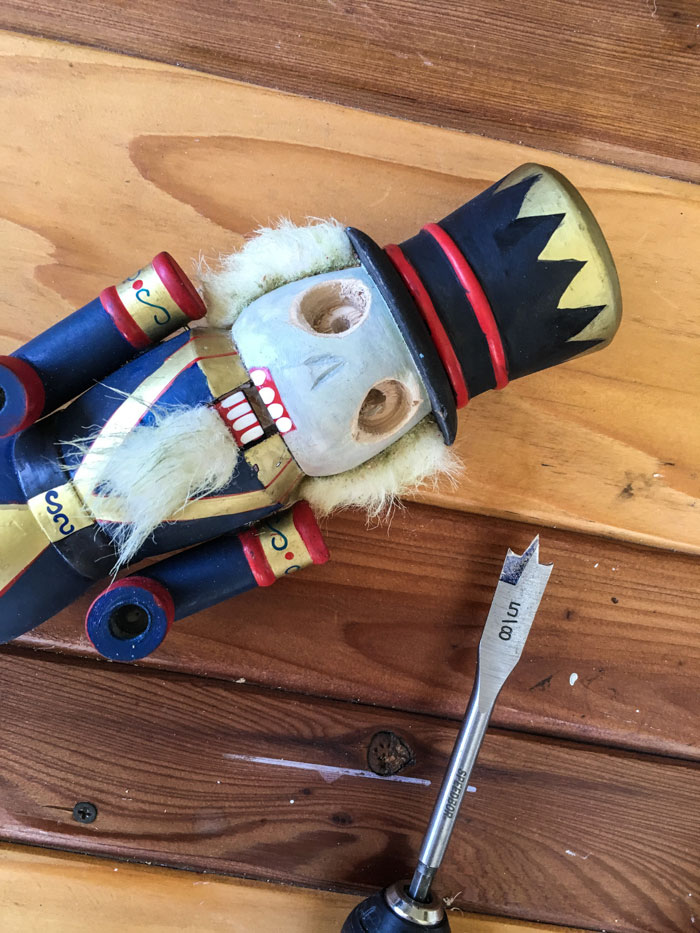
Step 1: Remove Accessories
Let’s start!
Ignore that his eye is drilled into—I end up doing that a better way later. But for now, remove the drum and his drumsticks, but keep the drumsticks handy for later. I also ended up removing his nose and scratched in little nose indents.
Step 2: Paint
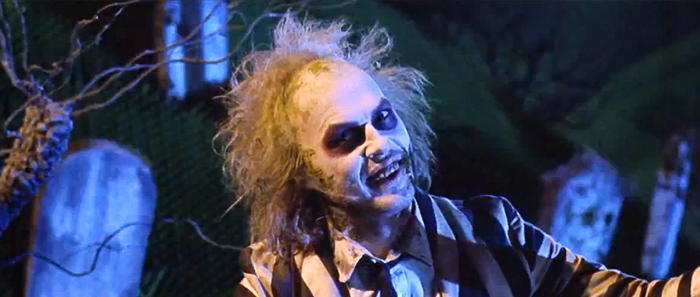
I started by painting his face a greenish/grey zombie color. I also used some of the same color grubby-up his hair. It looks especially gross if you add the rotten color to the roots of his hair (I call it “the Beetlejuice Effect”).
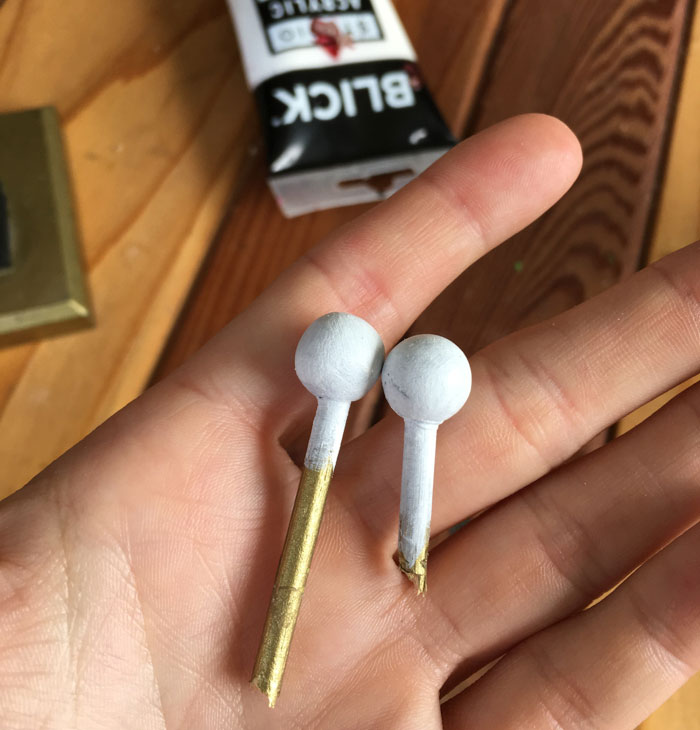
Next, paint the drumsticks white. These will be his eyes.
I also decided that his outfit was way too happy and shiny. So I re-painted him all over with acrylic paint, just to give him more of a matte look. He was also kinda beaten up (he came from a thrift store), so I needed to fill in some of the chipped bits.
Step 3: Drill
Grab your drill and drill some eye holes. I used a 5/8 drill bit. I also drilled some tiny holes in the back—but this was only because I had great aspirations for making his eyes move. These plans were never realized because I got distracted by this carnivorous monster craft. So you can ignore that part.
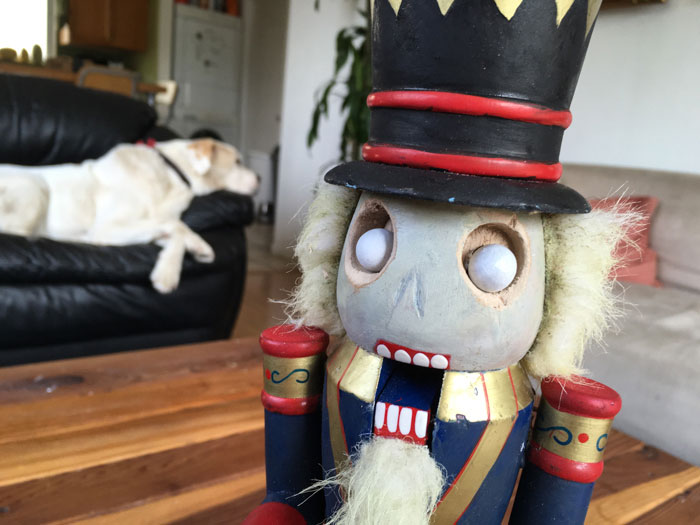
Step 4: Add Eyeballs
This could be your final step if you wanted it to be. Paint the back of his eye sockets black. Then take the drumsticks and put them into the sockets you made. I like that the socket holes were bigger than the eyes—it gives it a sunken look. You’ll probably have to cut/break the back of the drumsticks off if you didn’t make those thin holes at the back like I did.
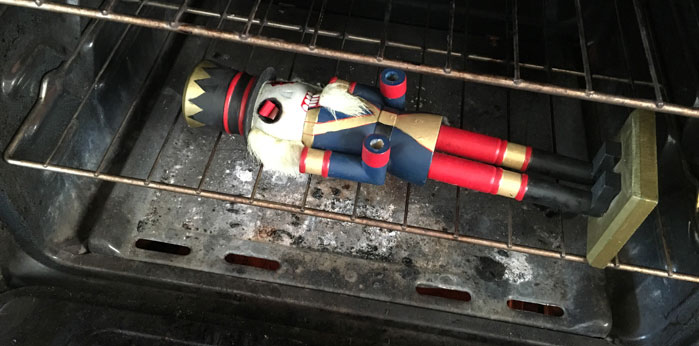
Step 5: Gooey Eye Blood (optional)
I felt like tinkering some more and giving an even more gorey look to his eyes. I found a red crayon and broke off a tiny bit. I put it in the socket and put the entire nutcracker in the oven on low. It melted and stuck all over the socket. Gross!
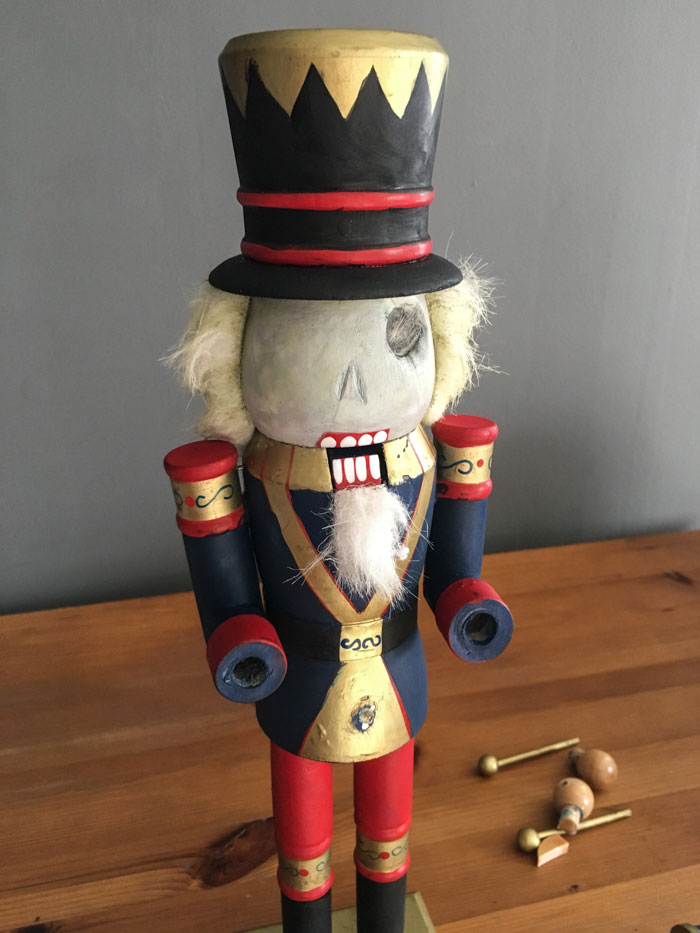
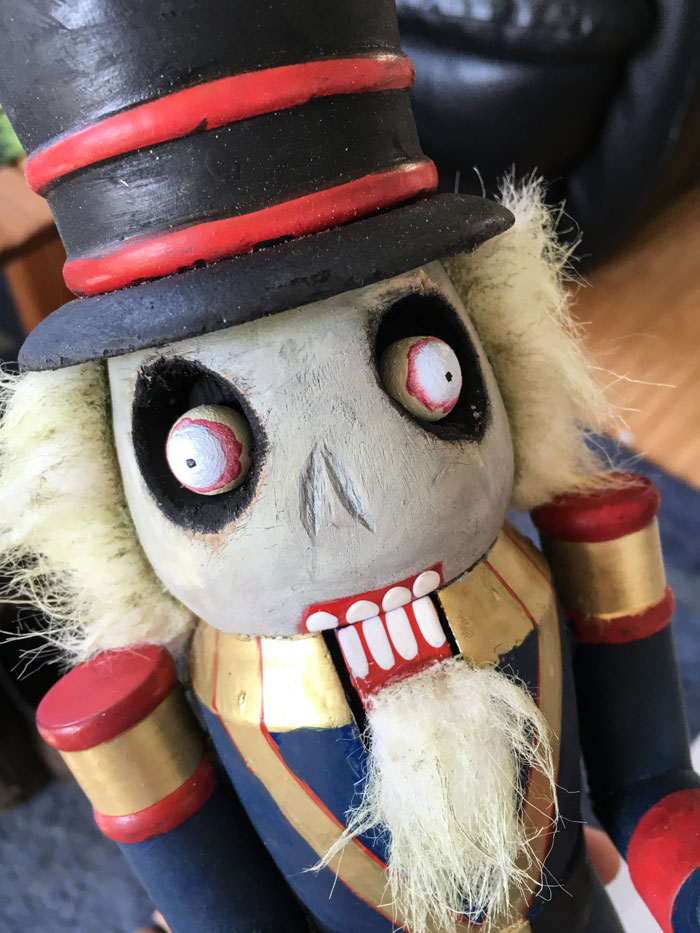
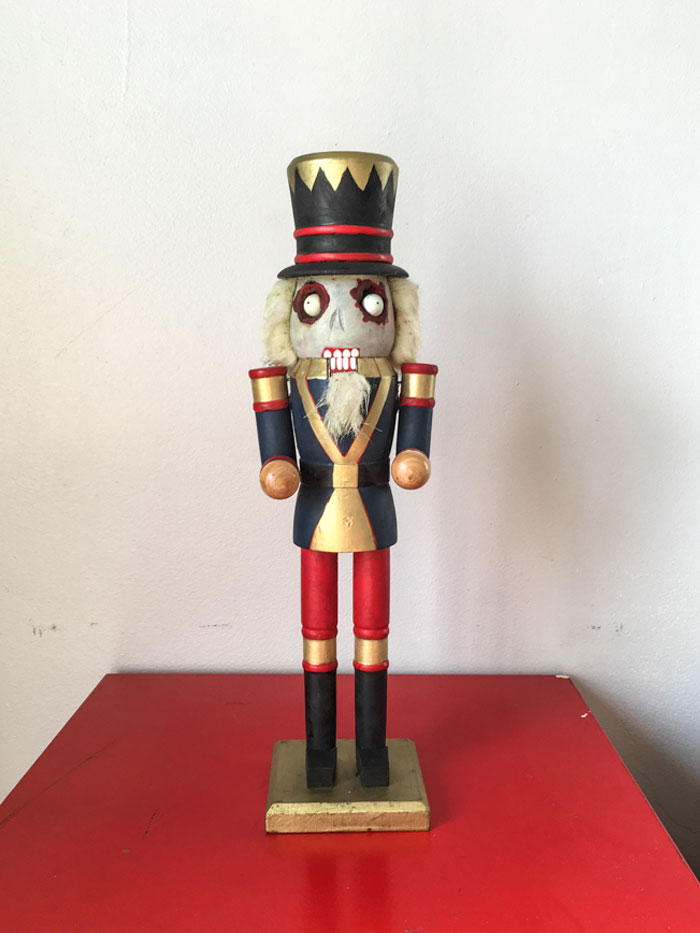
The Final Product! My Scary Halloween Nutcracker
I really like how my zombie nutcracker turned out. I was planning on doing something super fancy where he was a bit more mechanical. I wanted to connect one hand to both his mouth and his eyes, so when you pull his hand his eyes fall out and his mouth opens. But alas, I got distracted. So he’s a non-interactive scary Halloween nutcracker. Adding him to my Halloween craft collection!
![]()
Leave a Reply
You must be logged in to post a comment.