Huge Paper Mache Firefighter Helmet
I’ve been staying in Sonoma County for the past few months, living up the country lifestyle. I saw on a community forum that a local food truck was needing some help making a giant fireman’s helmet to put on their truck for the 4th of July parade in town. Sounded right up my alley! So I got cracking.
Materials
- yoga ball
- some cardboard
- newspaper
- paste (flour + water)
- spray paint
- a thin piece of wood (and the ability to cut it)
Step 0: Reference Photos
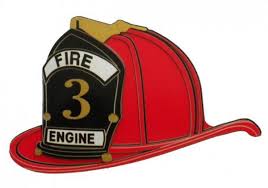
Fireman’s helmets come in tons of different colors, but I decided I wanted mine to be closest to my cartoon-like image of a firefighters helmet. This was the image I settled on to emulate:
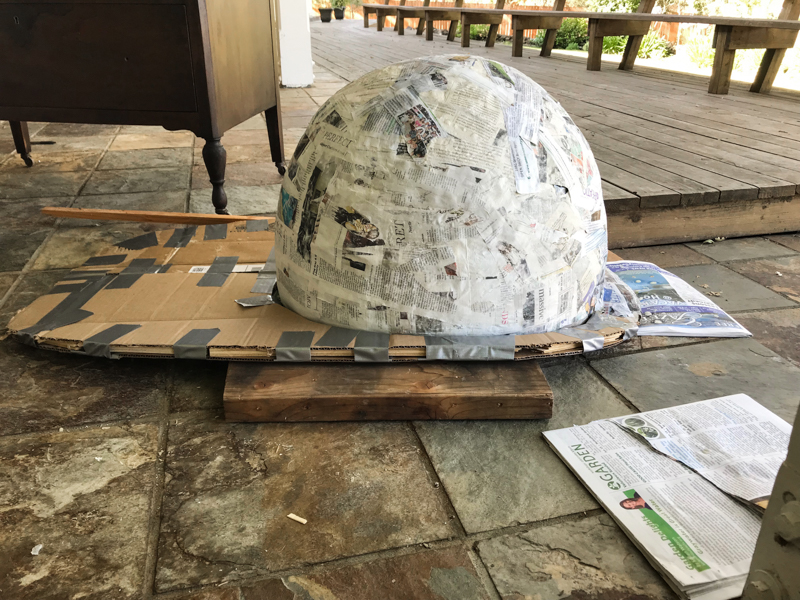
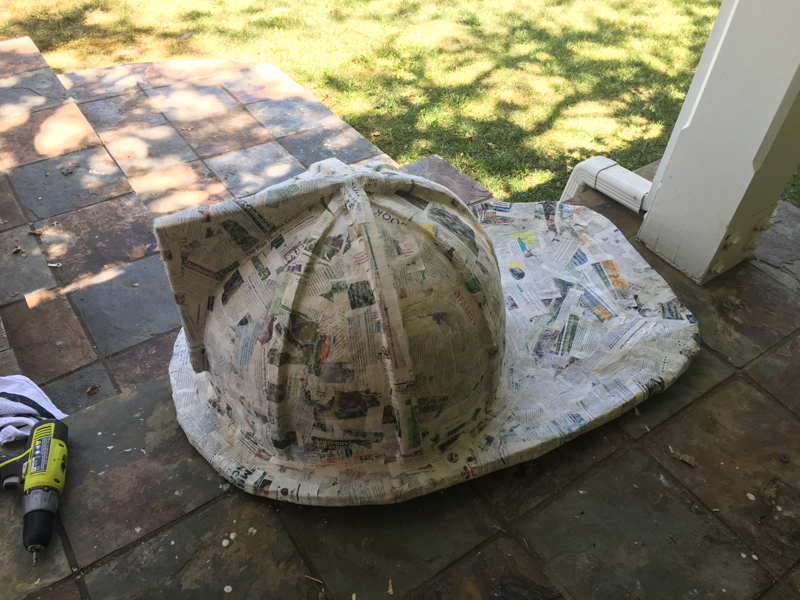
Step 1: Paper mache the ball
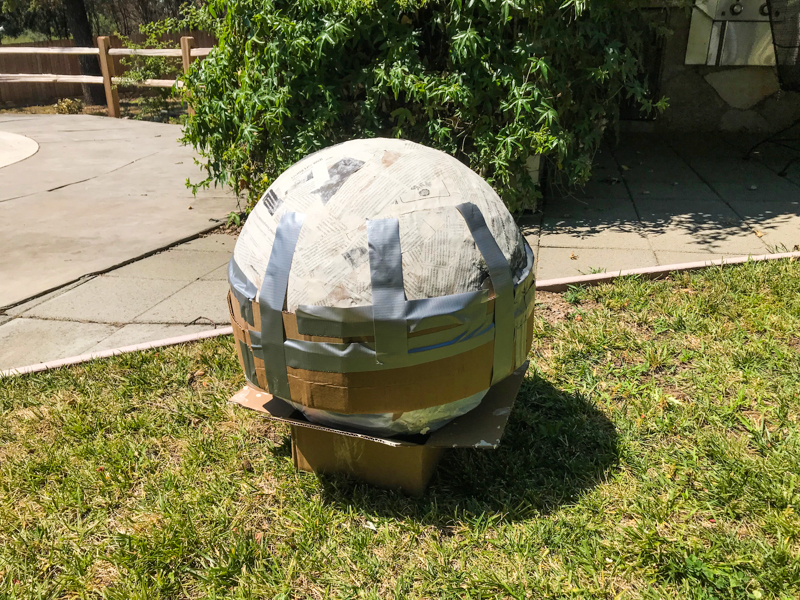
I got the yoga ball from the local thrift store for $1, which was awesome. I cut a garbage bag open and taped it to the yoga ball, so that when I paper mached everything and then pop the ball the paper mache wouldn’t crumple in on itself.
I cut a strip of cardboard and taped it around the base, to elongate the shape and make it more oval-shaped rather than an equal sphere.
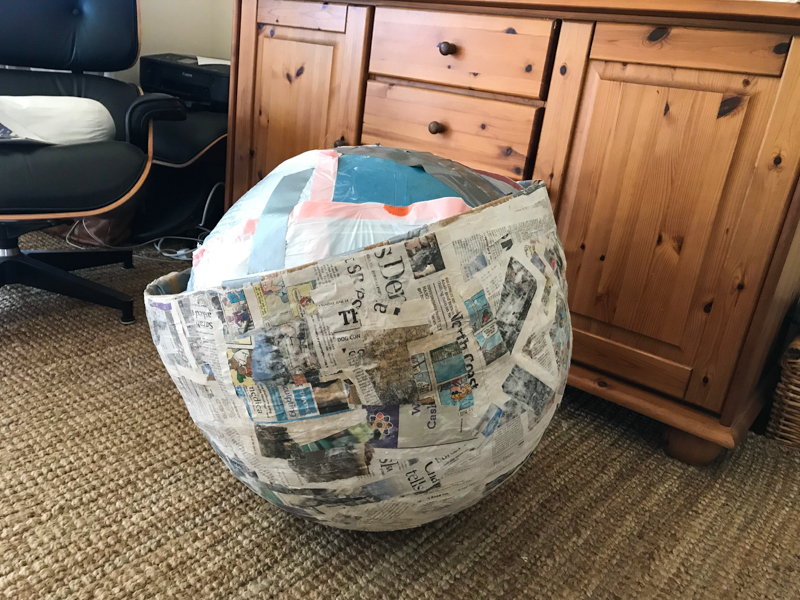
Then I made my paper mache paste and started glopping strips of newspaper to it.

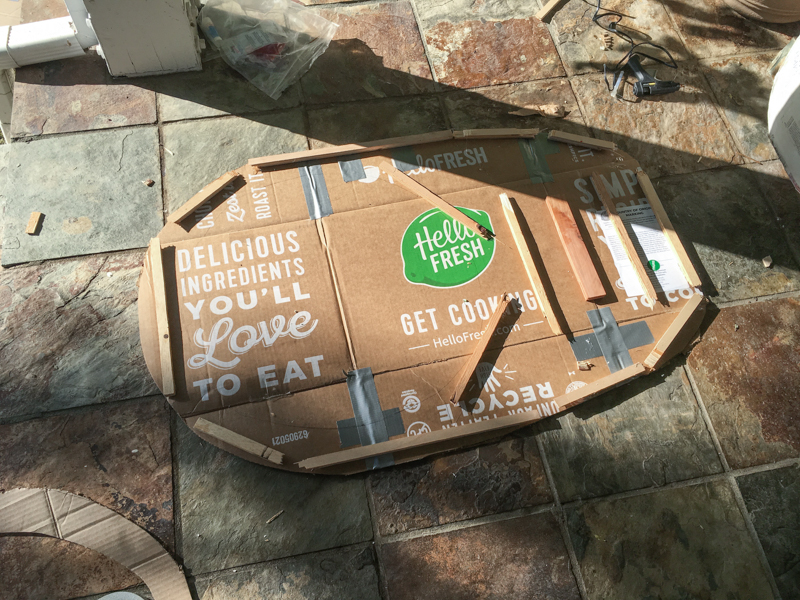
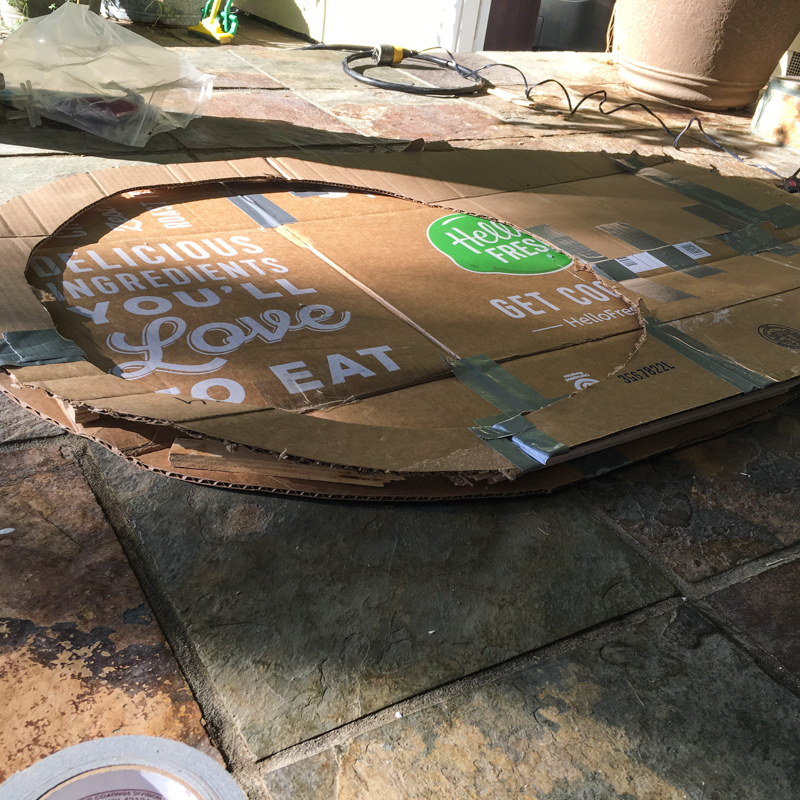
Step 2: Making the “beak”
I fussed around with this and probably did it in a silly way, but oh well. I cut out two cardboard pieces into the same shape (of the entire beak). On the bottom one I attached a bunch of structural pieces of strap wood, just to harden it up a bit. On the top piece, I cut out a circle for the top of the hat to slip into, taped the whole thing together, then paper mached the heck out of it.
Step 3: Adding Ridges
To make the hat ridges, I just folded up some long strips of cardboard and taped them on. There are 4 strips total but I only show the first 2 below—the second two are larger and taller and you can see them later on. Then I paper mached the whole thing (yet again—this is a paper mache heavy project)!

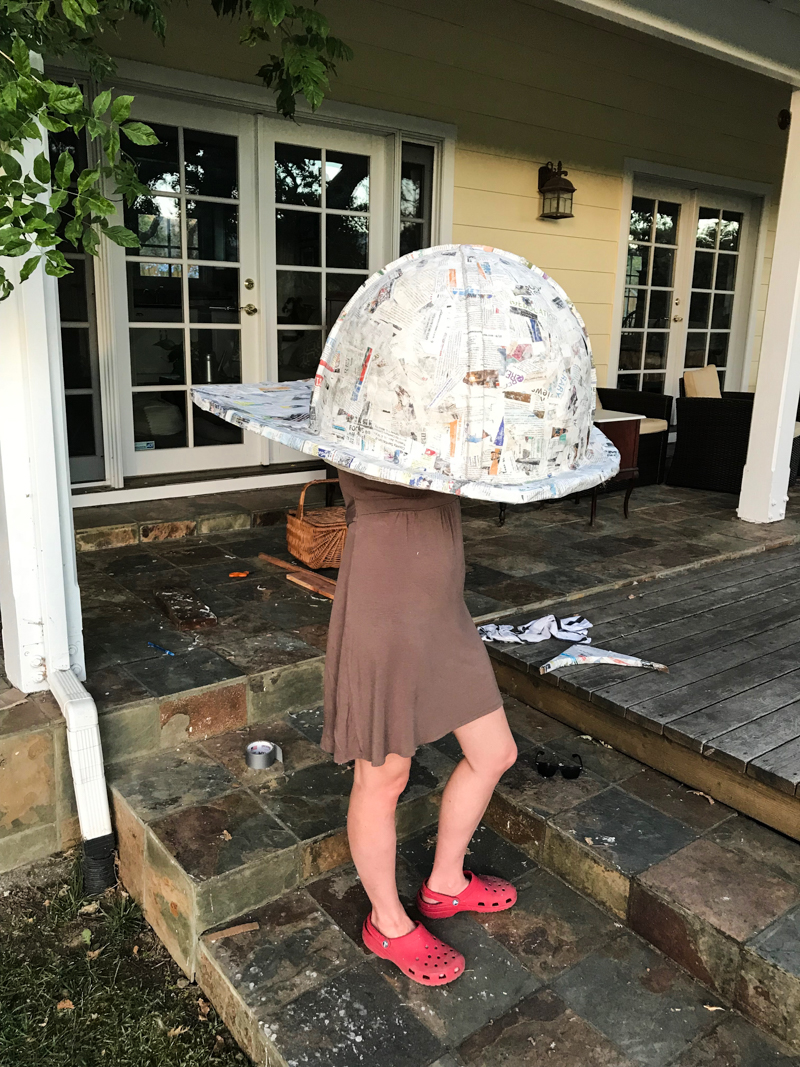
It’s coming along!
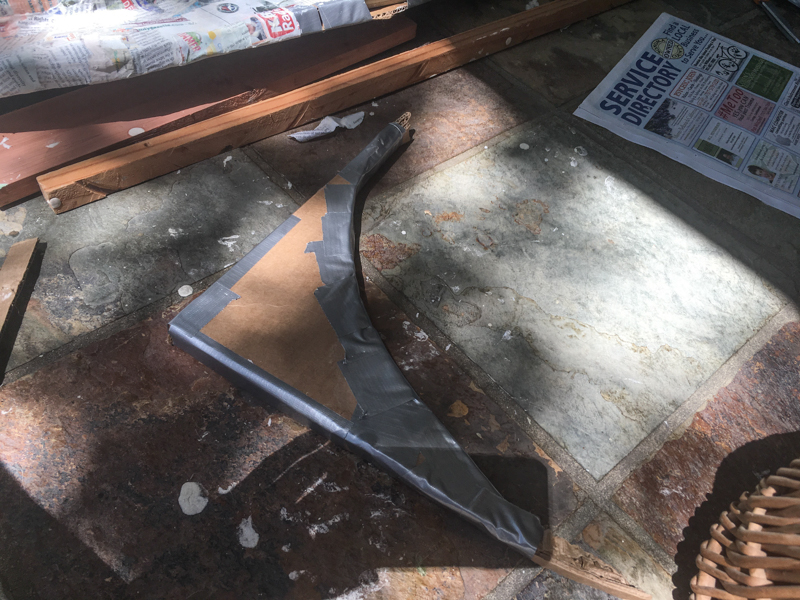
Step 4: The Plaque Support
Again, here’s the reference photo:
There’s a black plaque with information about the first station, as well as a gold support triangle that goes behind it. So I built the support triangle out of paper mache but put a thin strip of wood in the front part. This was so I could then screw the wooden plaque straight into the gold support thing.
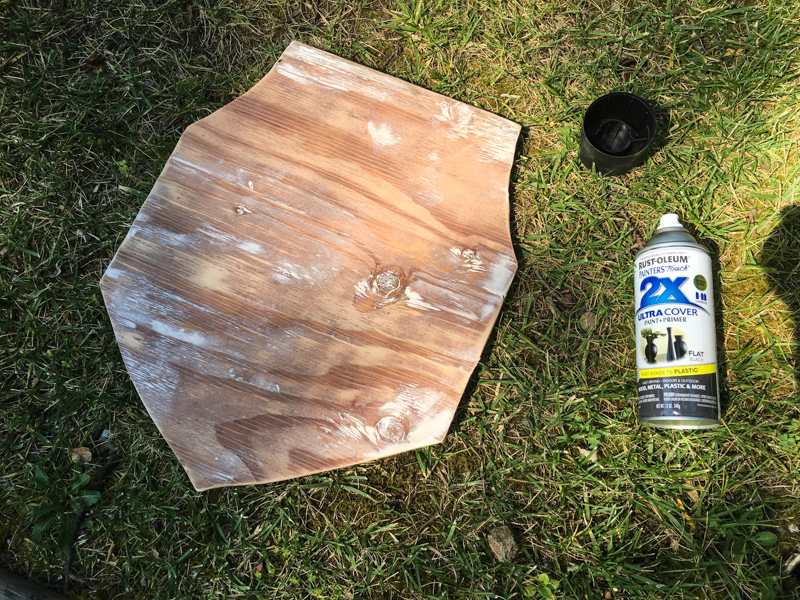
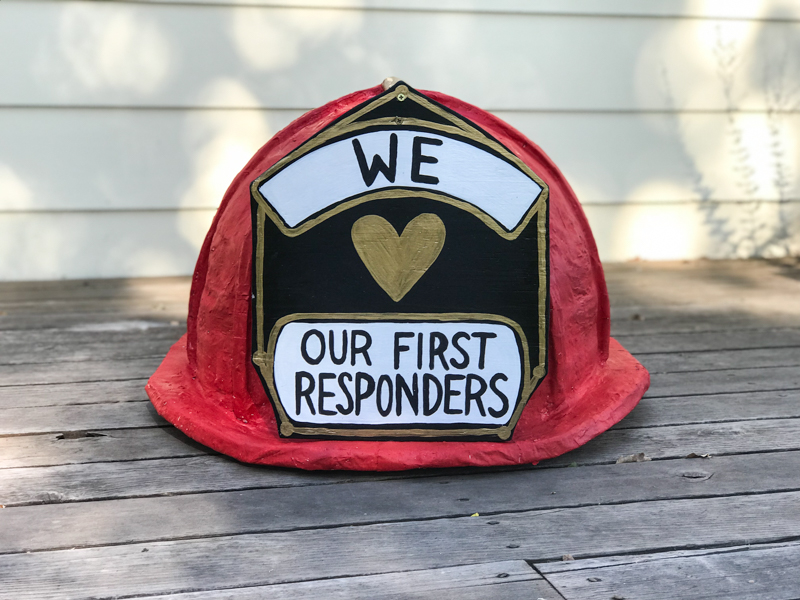
Step 5: The Plaque
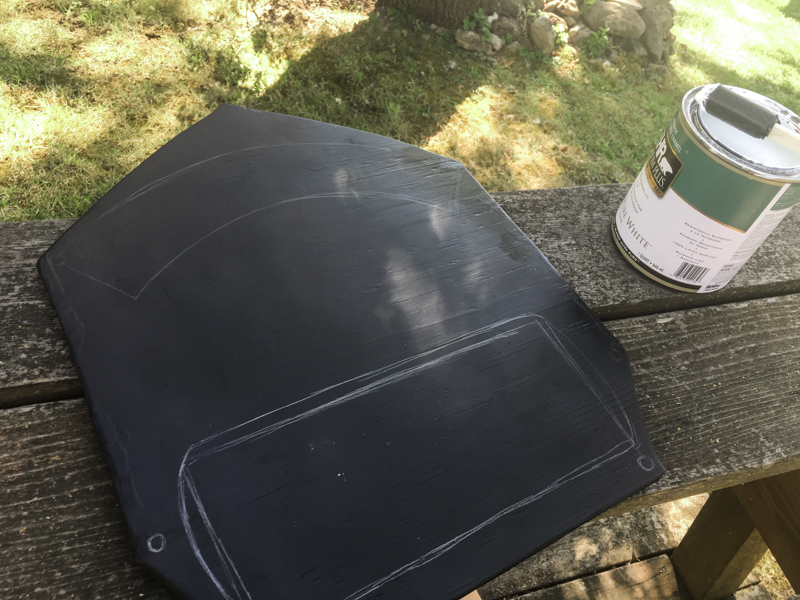
I found a thin piece of wood and used a jigsaw to cut it into the correct plaque shape. I spray painted it black and then started creating some areas for words.
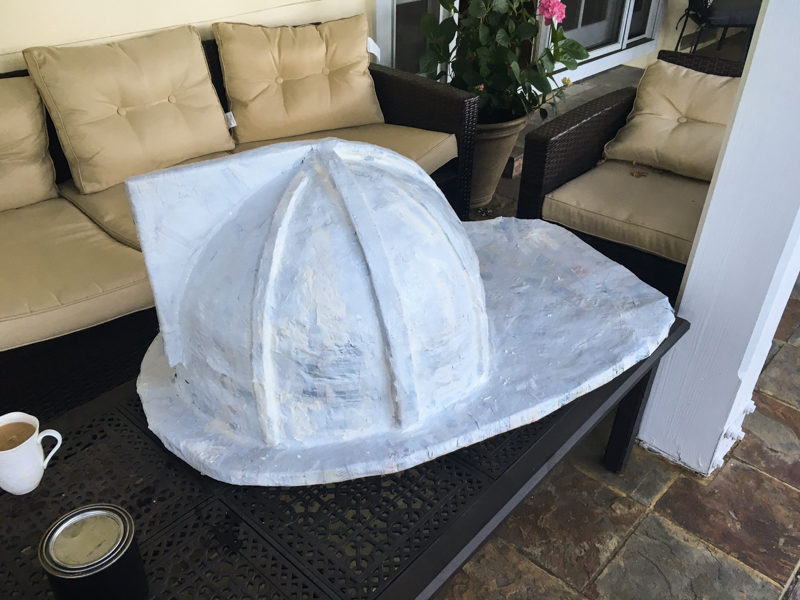
Step 6: Final Touches
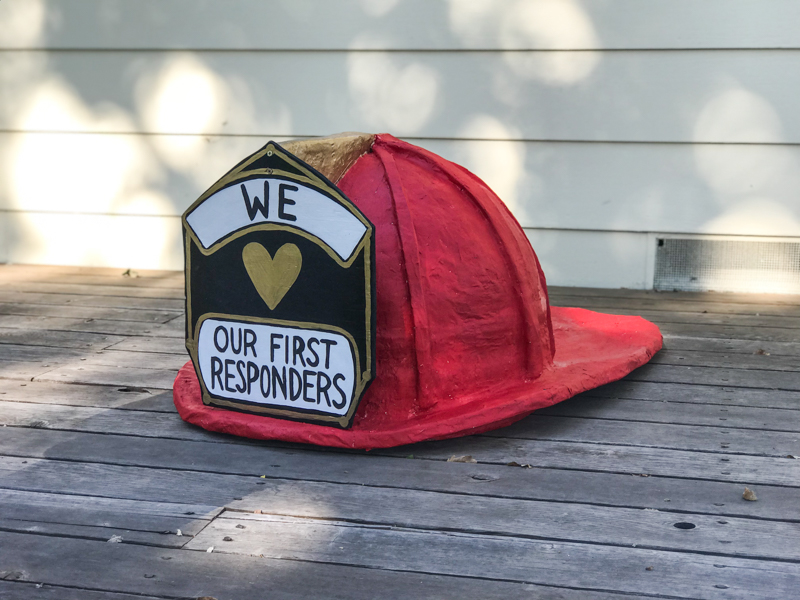
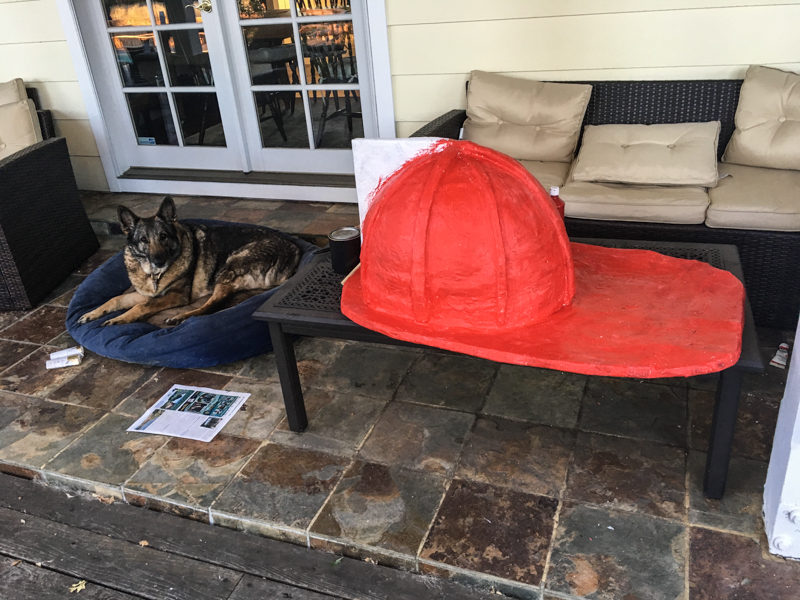
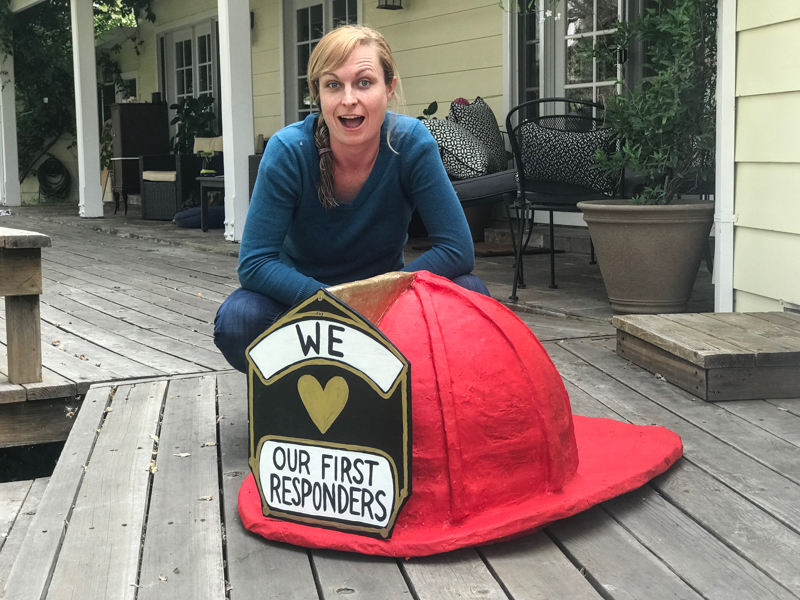
I started by paiting the whole thing white so that it’d cover up the newspaper words more easily. Then I covered most of it in a layer of red, painted the plaque support gold, and painted some words onto the plaque.
This area I’m in (Sonoma County) recently went through some really awful fires, and so I thought it’d be good to thank the First Responders right on the firehelmet.
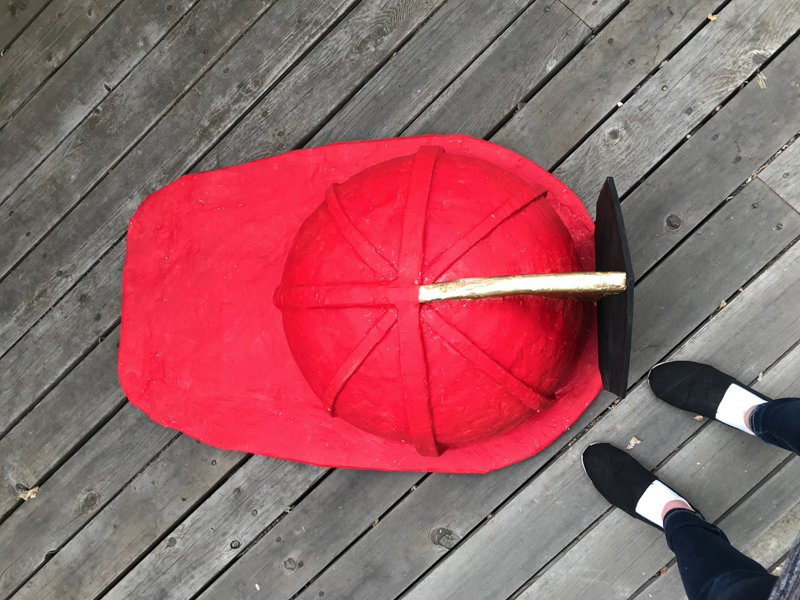
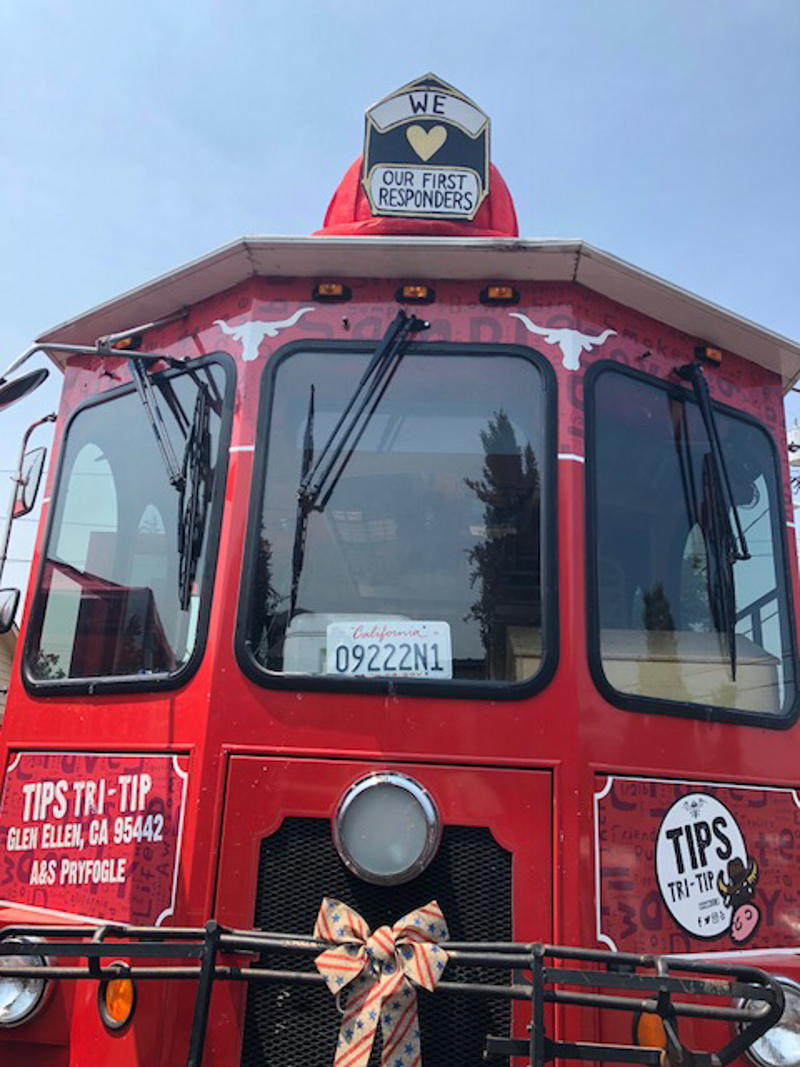
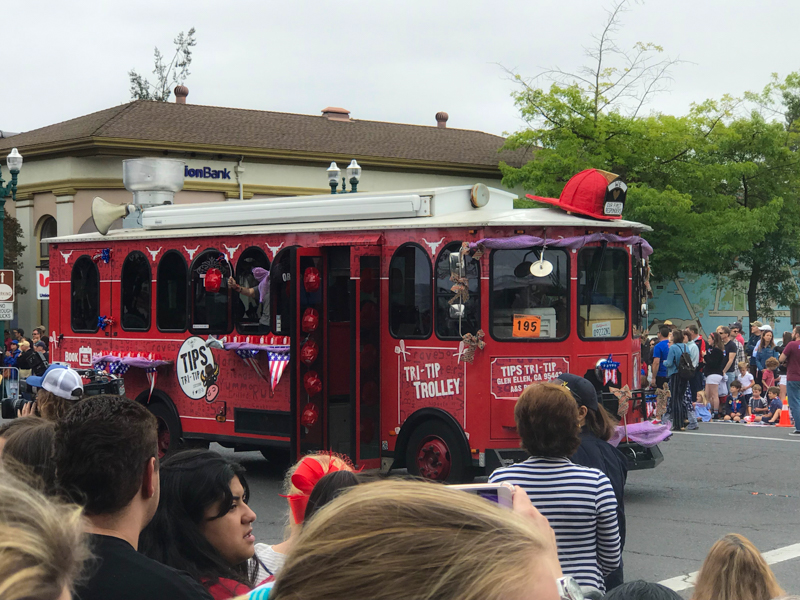
The Final Product! My Giant Paper Mache Fireman’s Hat
It took a good amount of time, but I’m really happy with how my giant paper mache fireman’s hat came out. It was attached to the top of the food truck and was featured in the local 4th of July parade, and people really enjoyed it.

Leave a Reply
You must be logged in to post a comment.