2

Epic Fort 2017

The Epic Fort 2017 theme was dark and light!

First, the video:

Photo Overview:

Epic Fort 2017: A crazy cardboard fort full of colors and light

Epic Fort 2017: A crazy cardboard fort full of colors and light

Epic Fort 2017: A crazy cardboard fort full of colors and light

Epic Fort 2017: A crazy cardboard fort full of colors and light

Epic Fort 2017: A crazy cardboard fort full of colors and light

Epic Fort 2017: A crazy cardboard fort full of colors and light


Fort Description (and more pics)
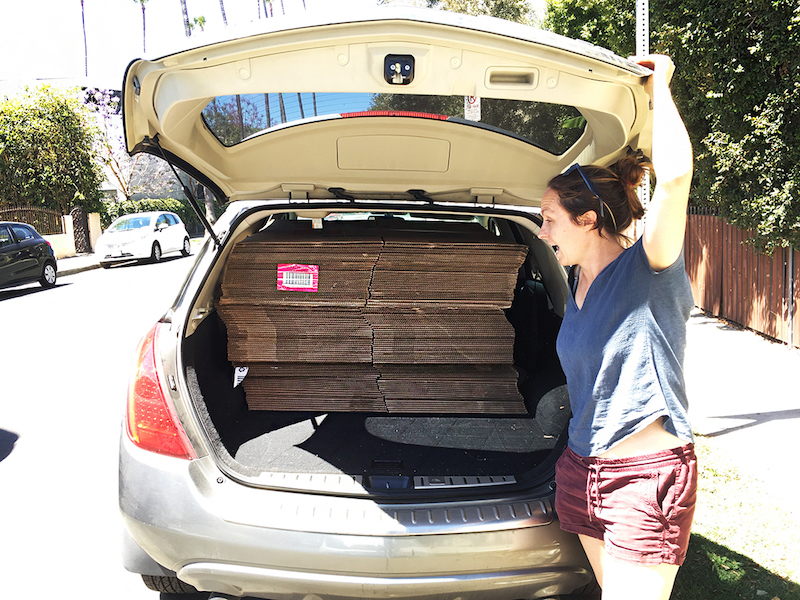
Initial plan:

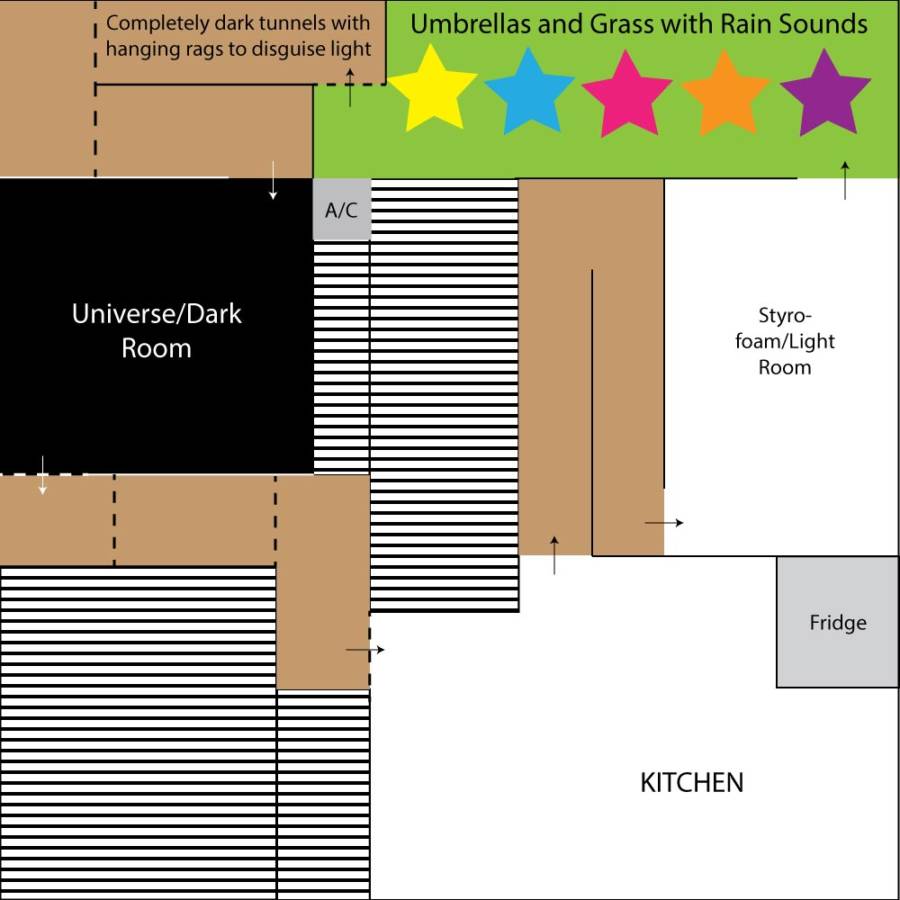
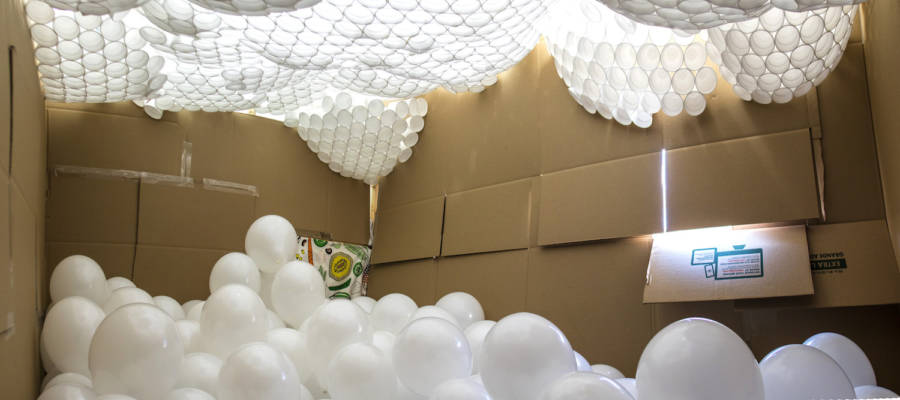
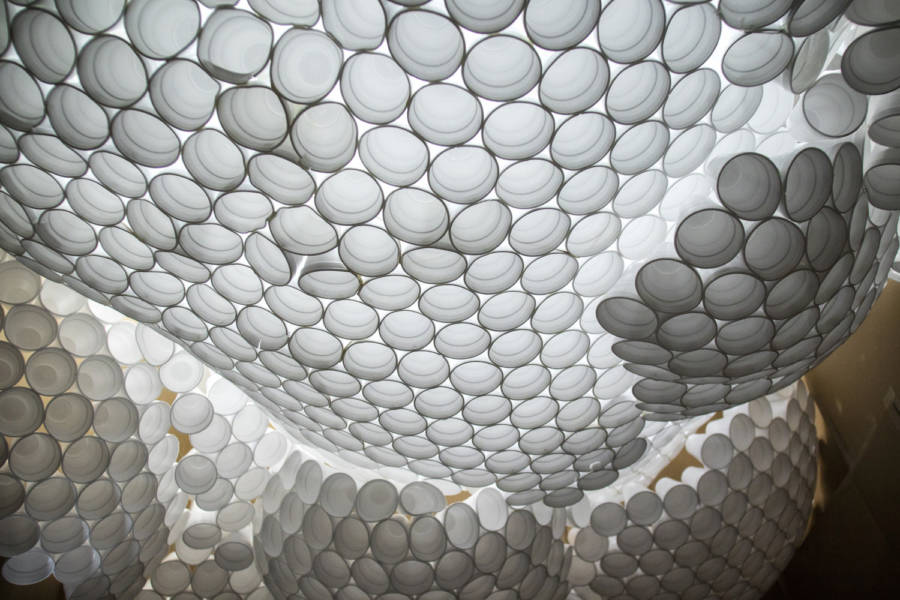
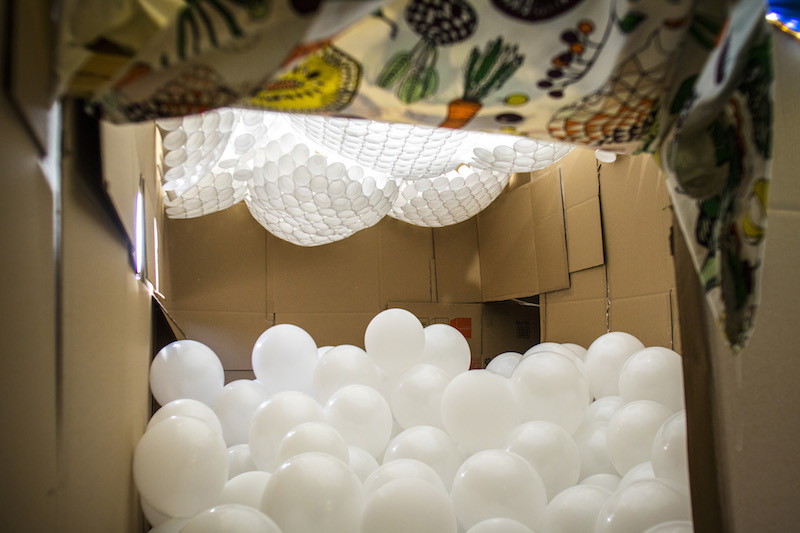
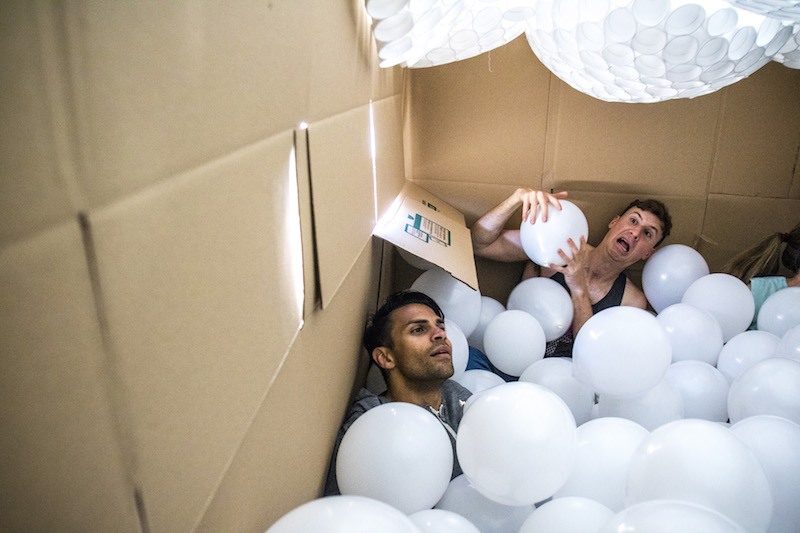
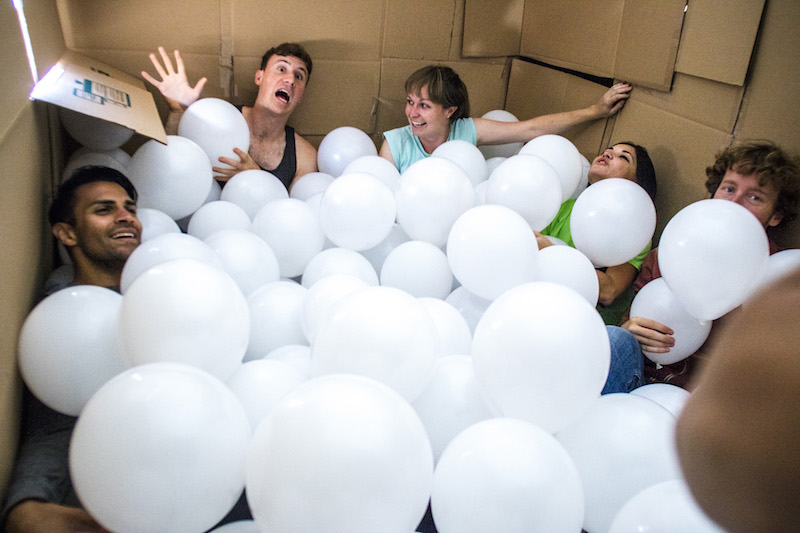
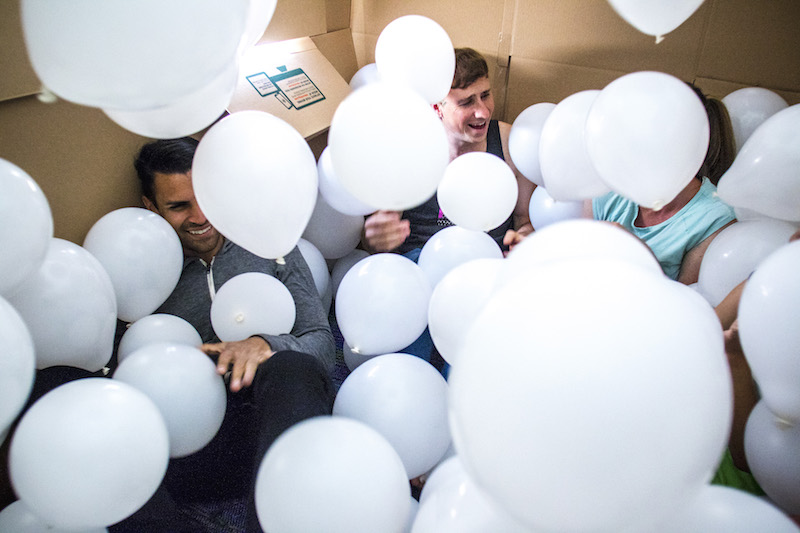
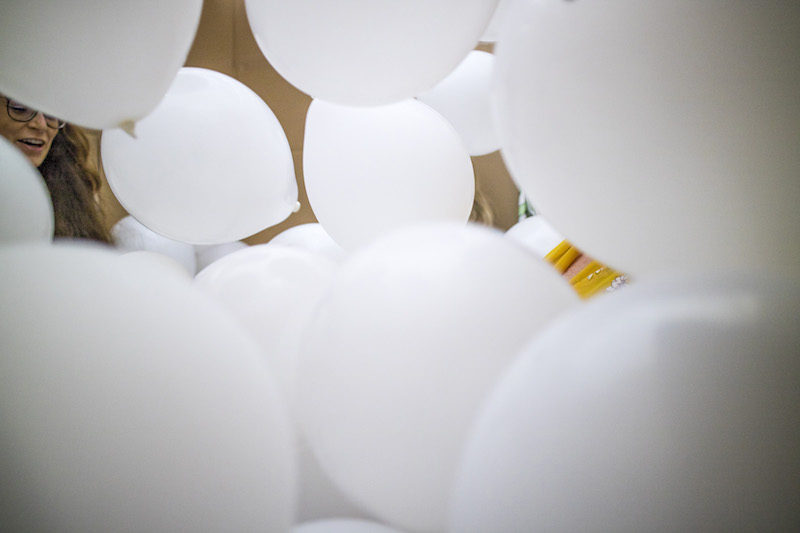
The fort started out bright and white with a complicated styrofoam cup ceiling. Took quite a long time to do and involved rubber banding the cups together, hot gluing them, and then stringing them up in all kinds of ways.

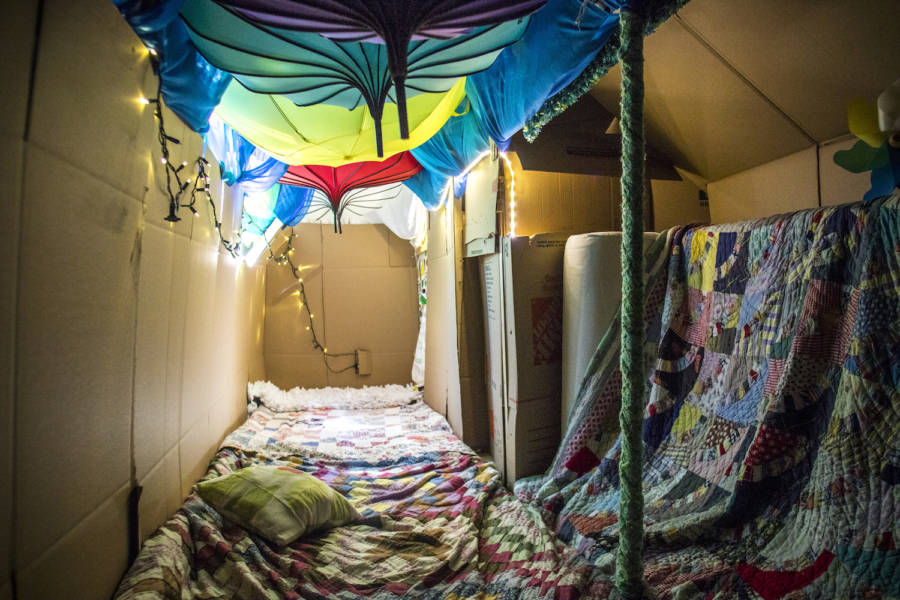
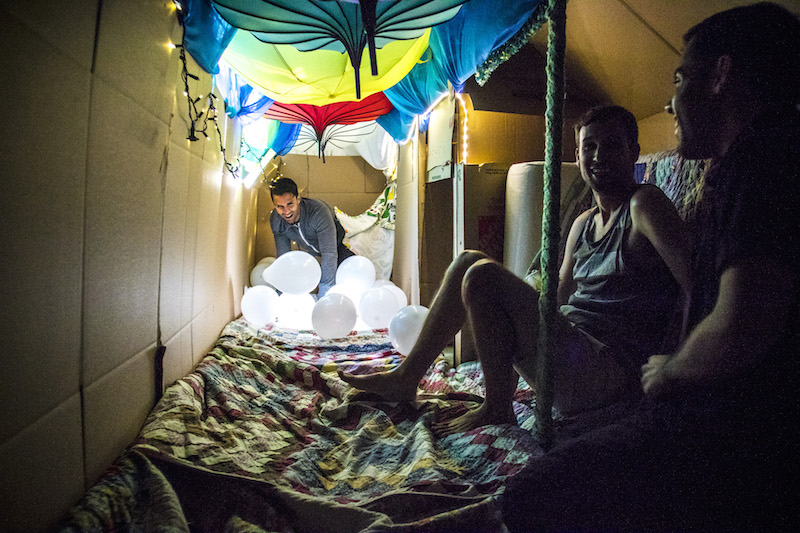
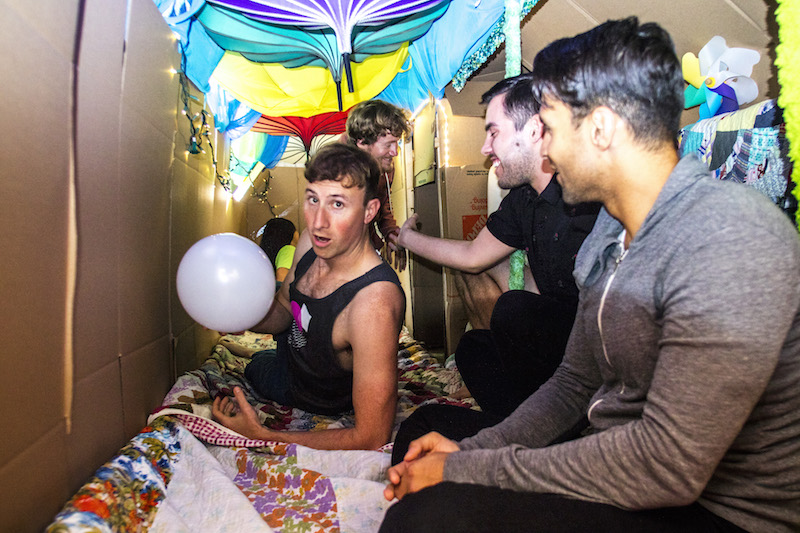
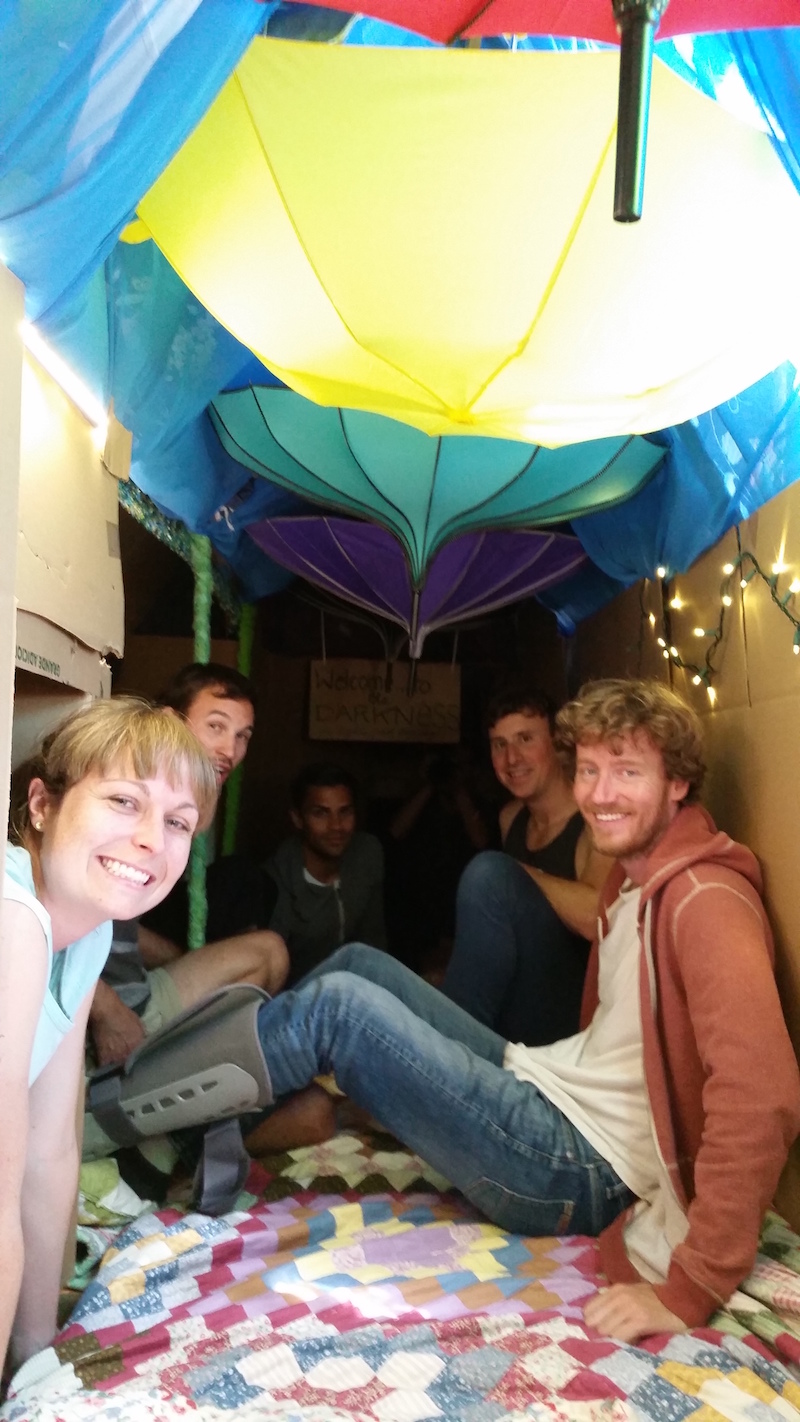
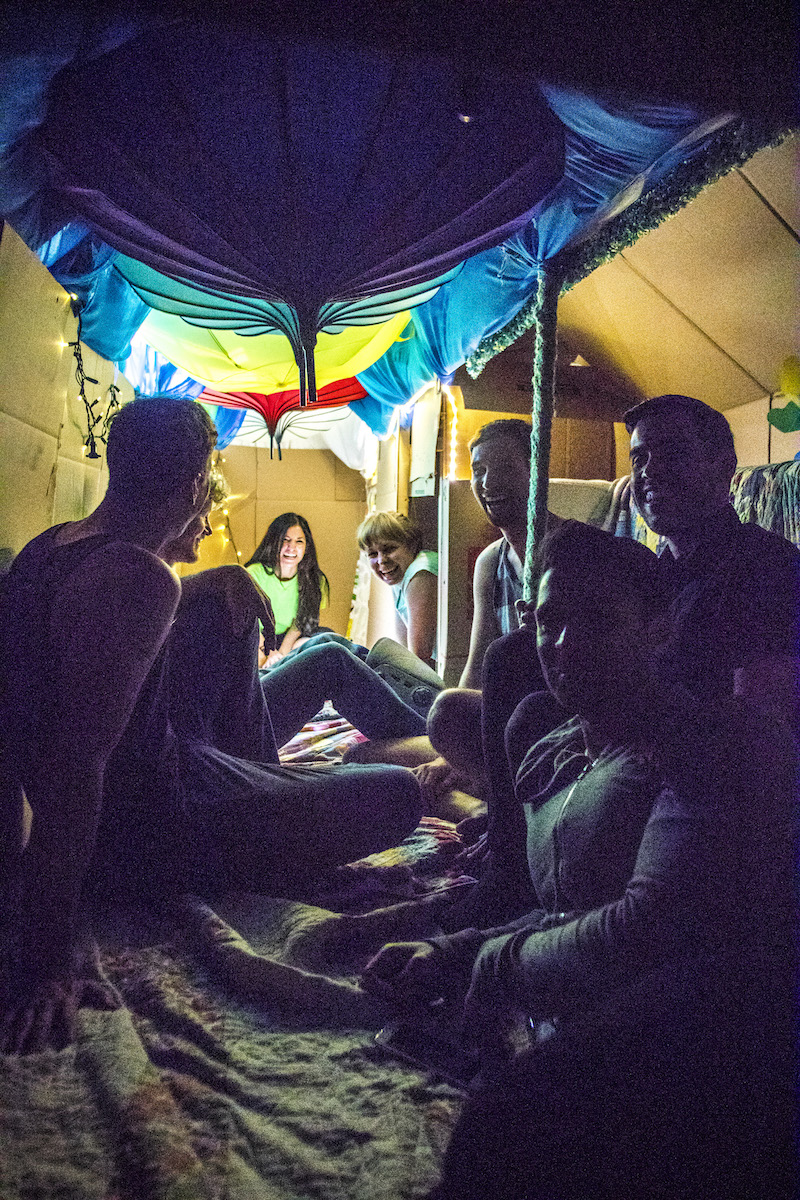
The next room was full of colors, including our fun rainbow umbrellas!

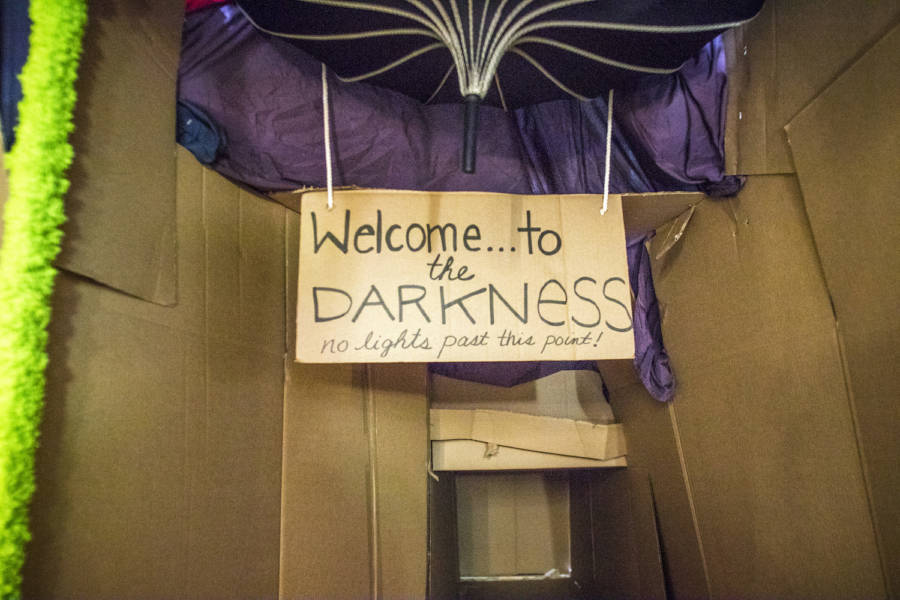
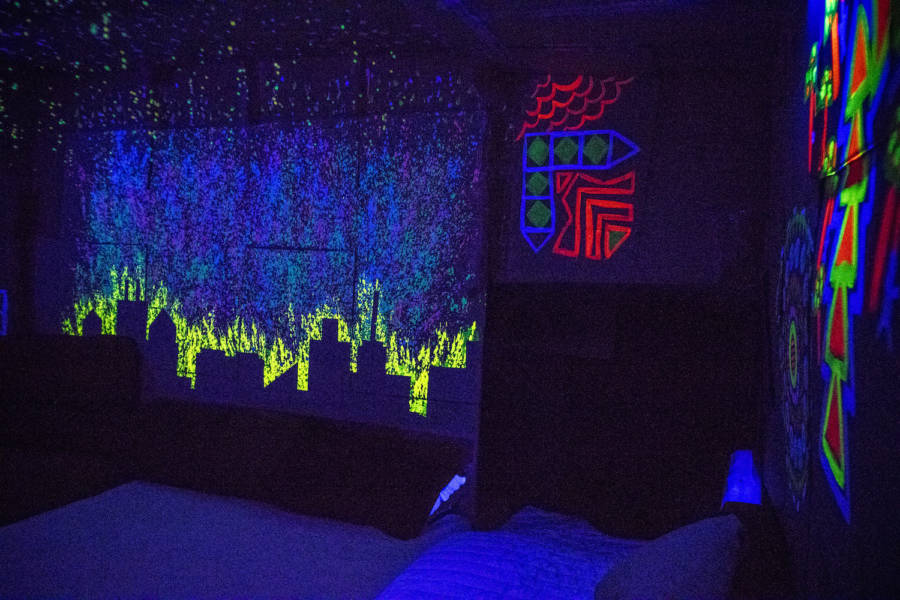
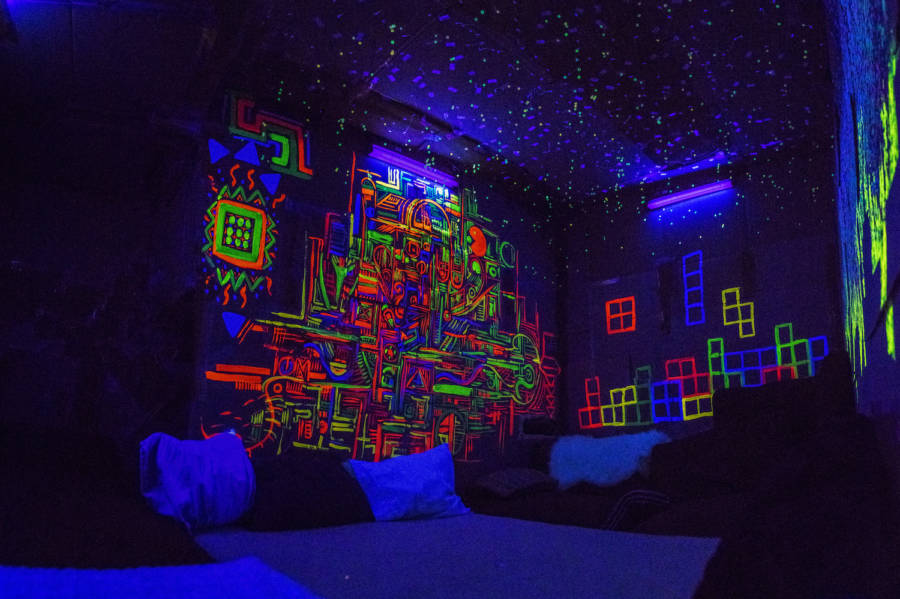
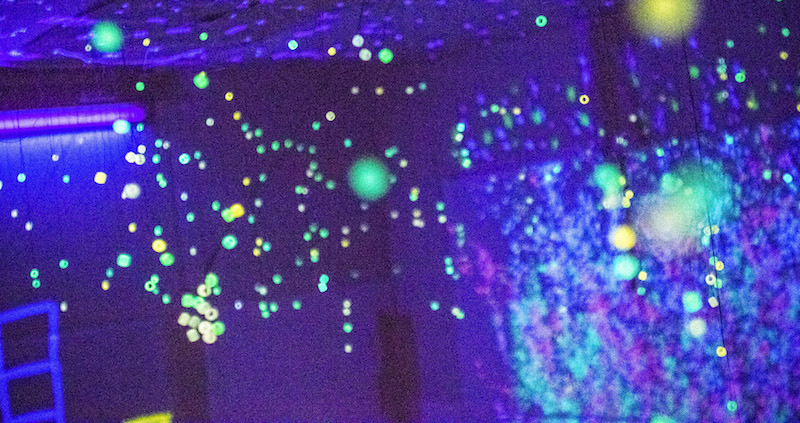
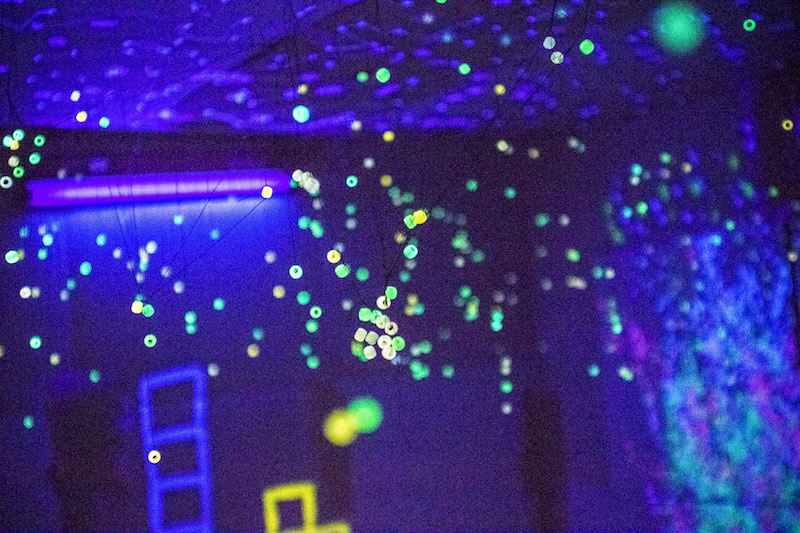
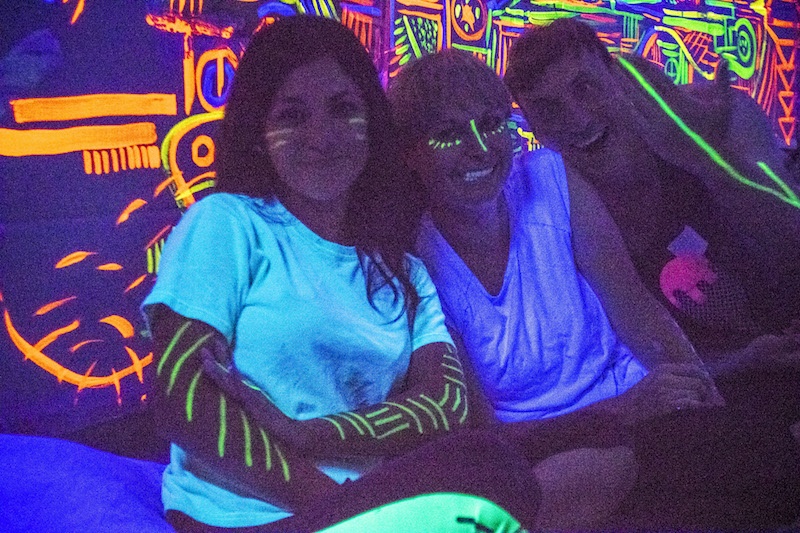
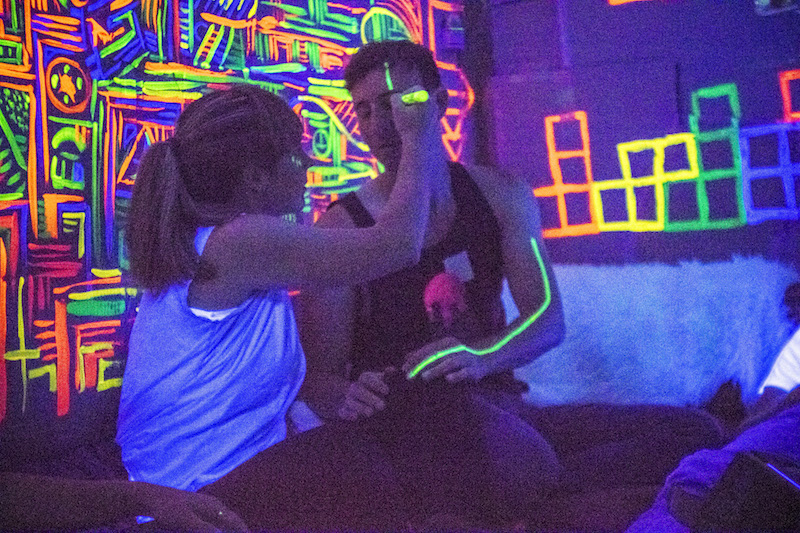
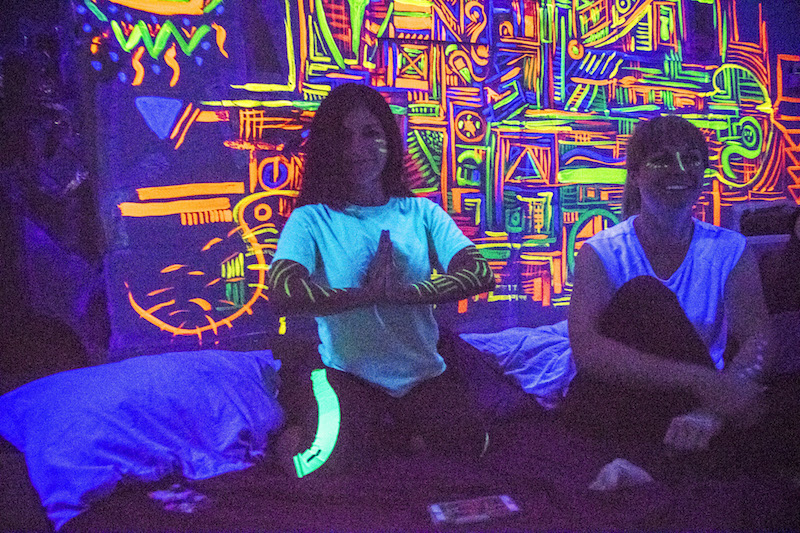
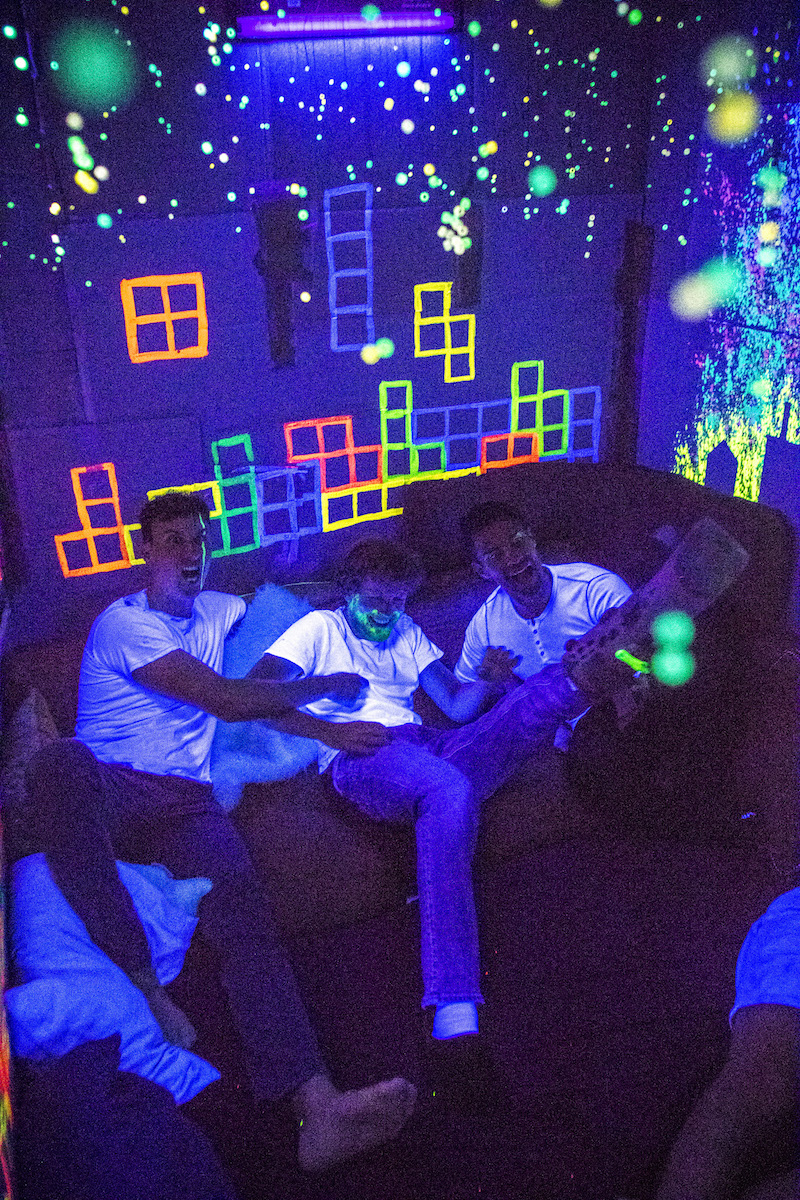
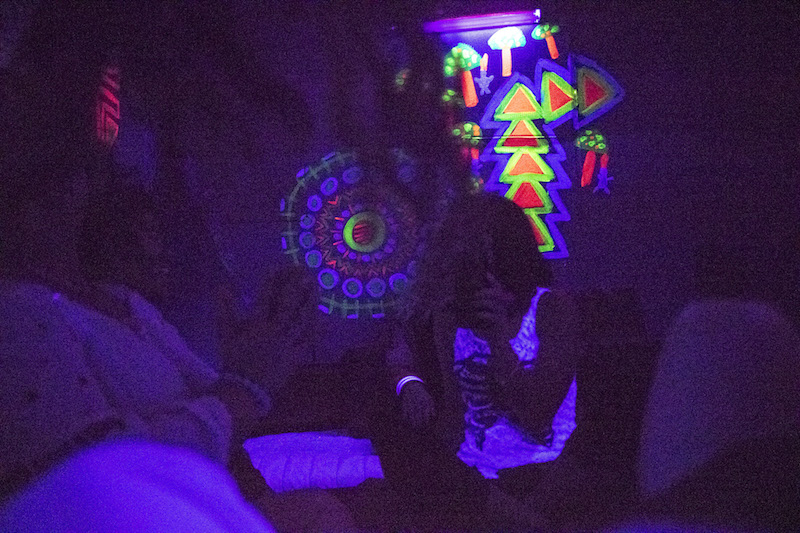
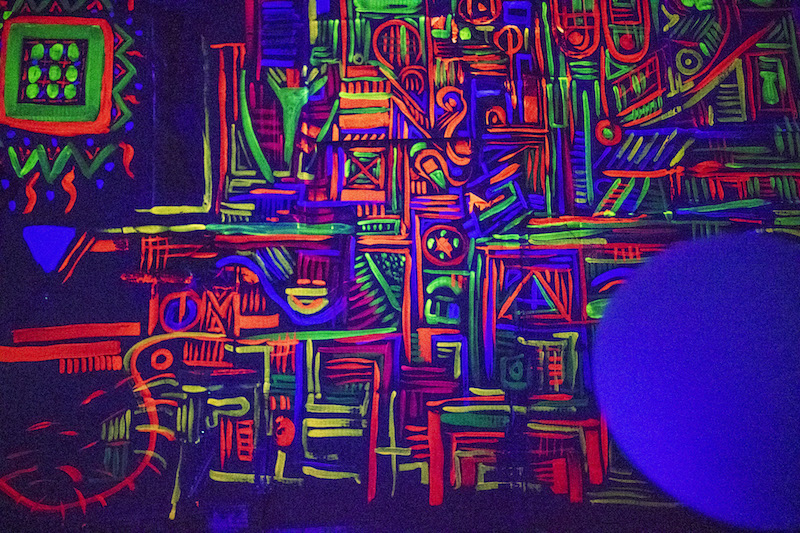
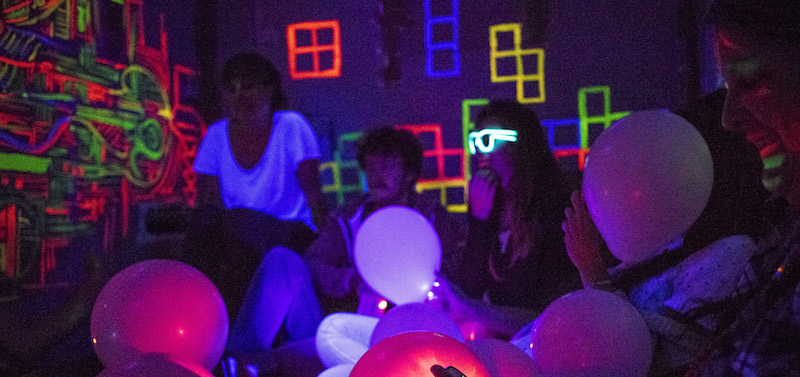
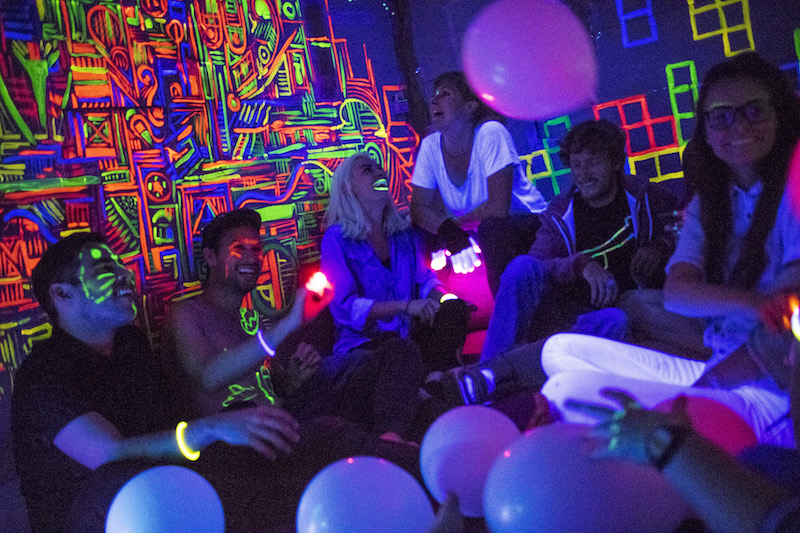
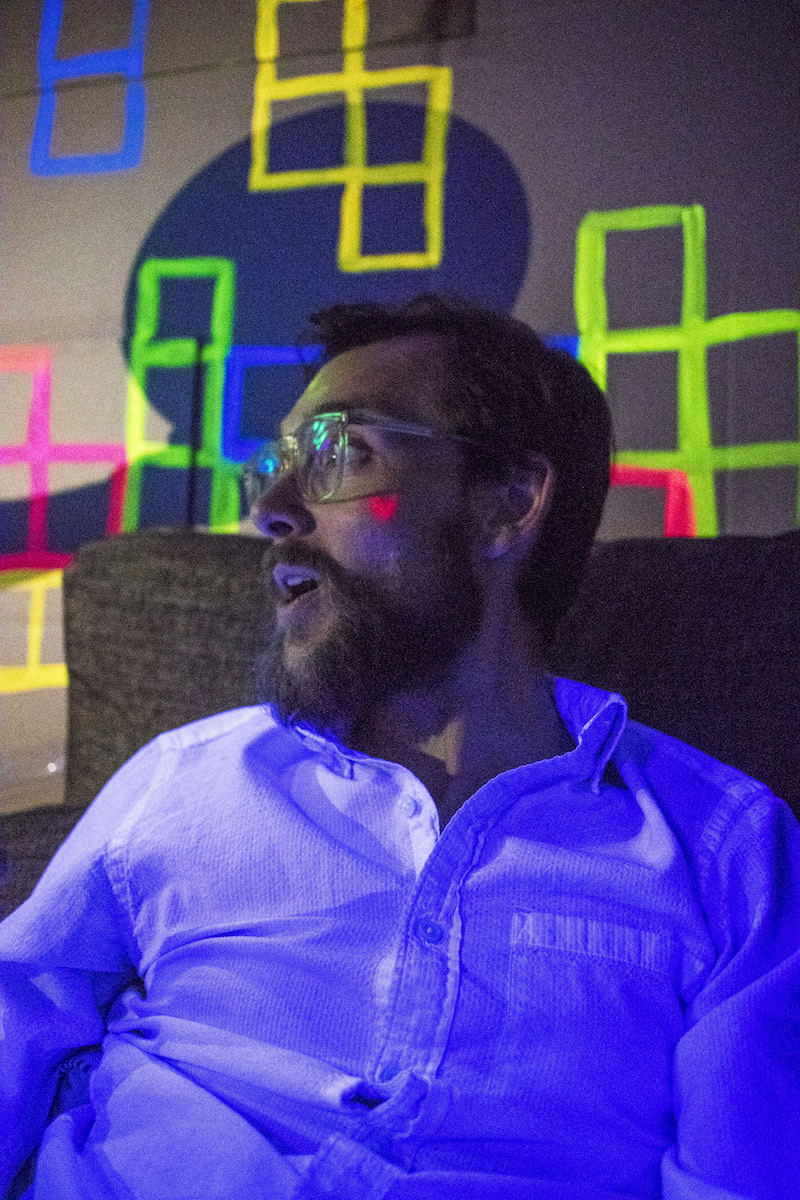
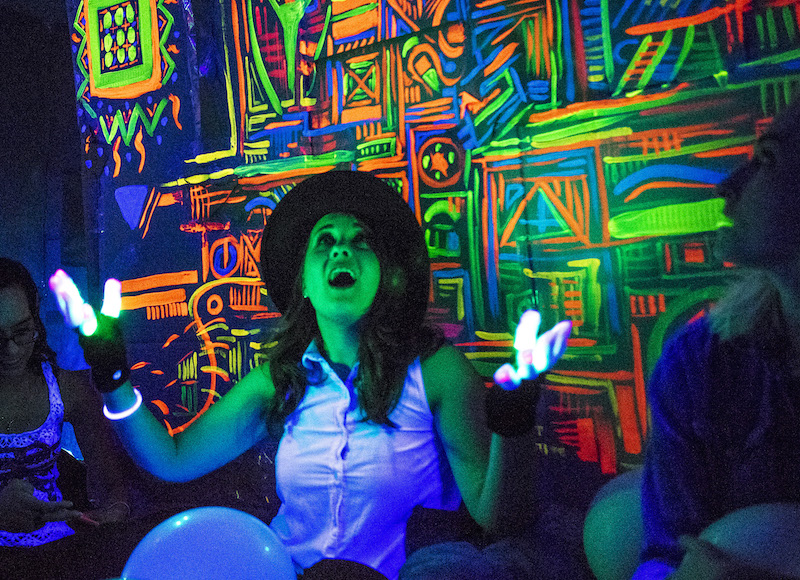
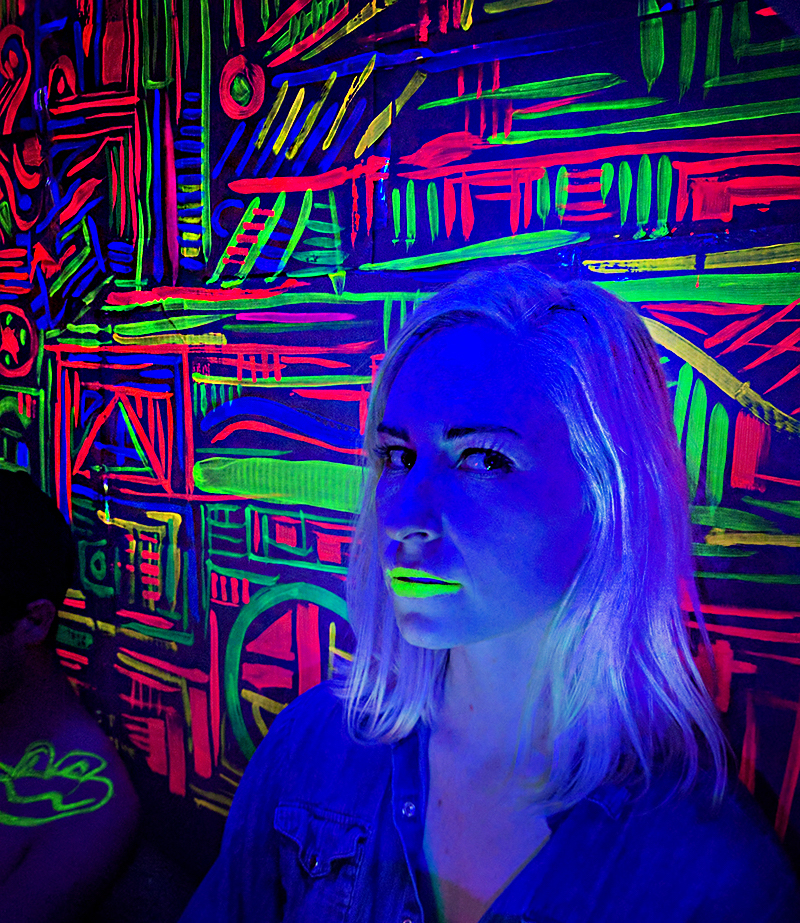
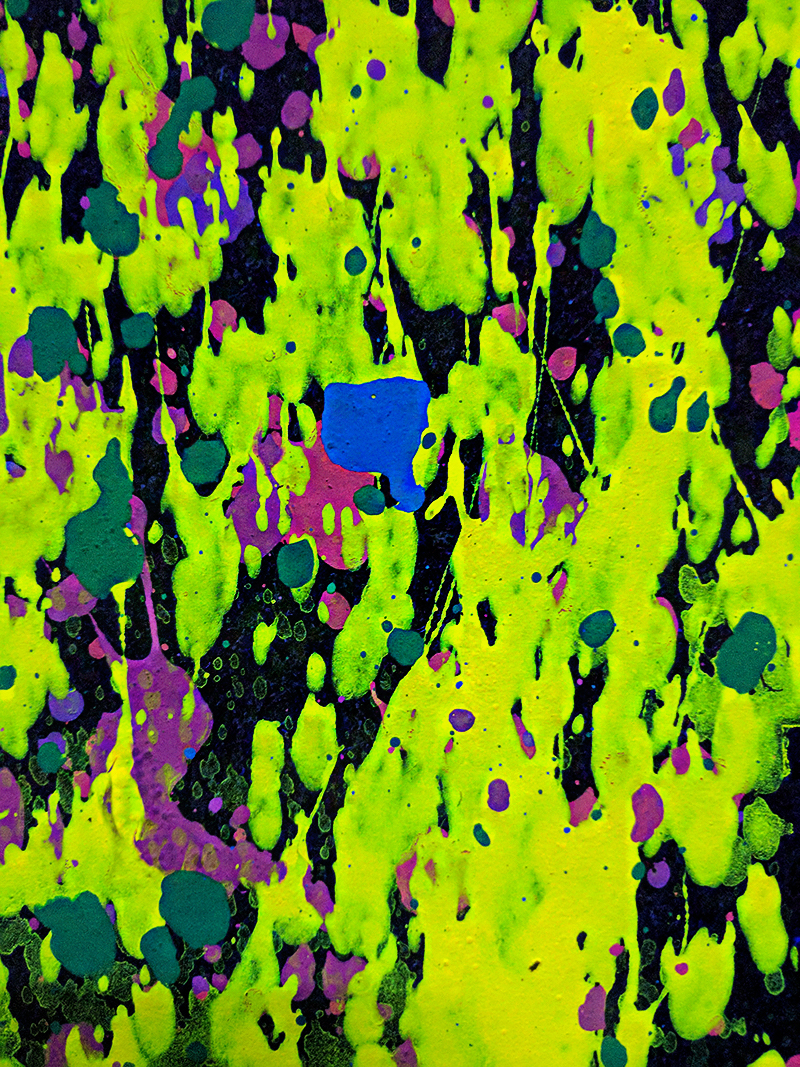
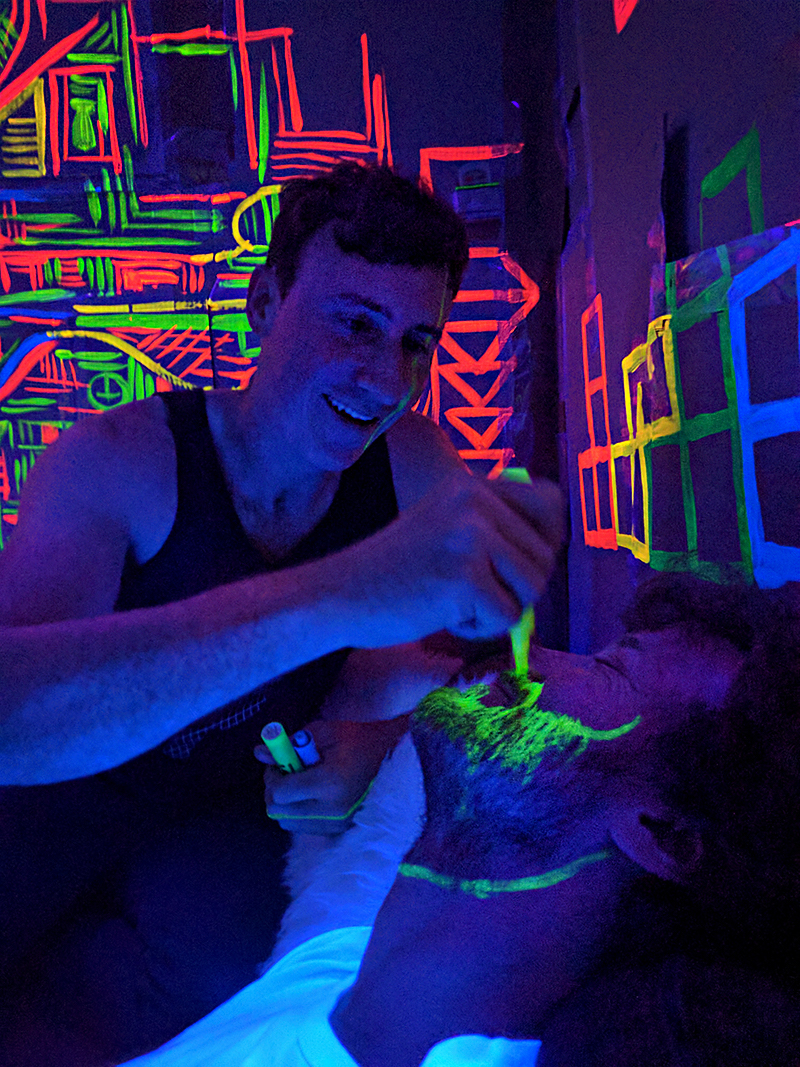
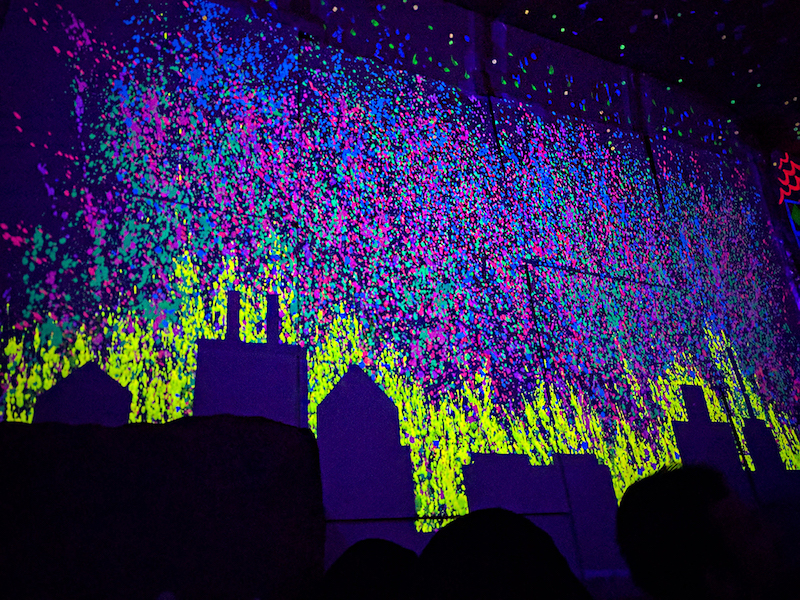
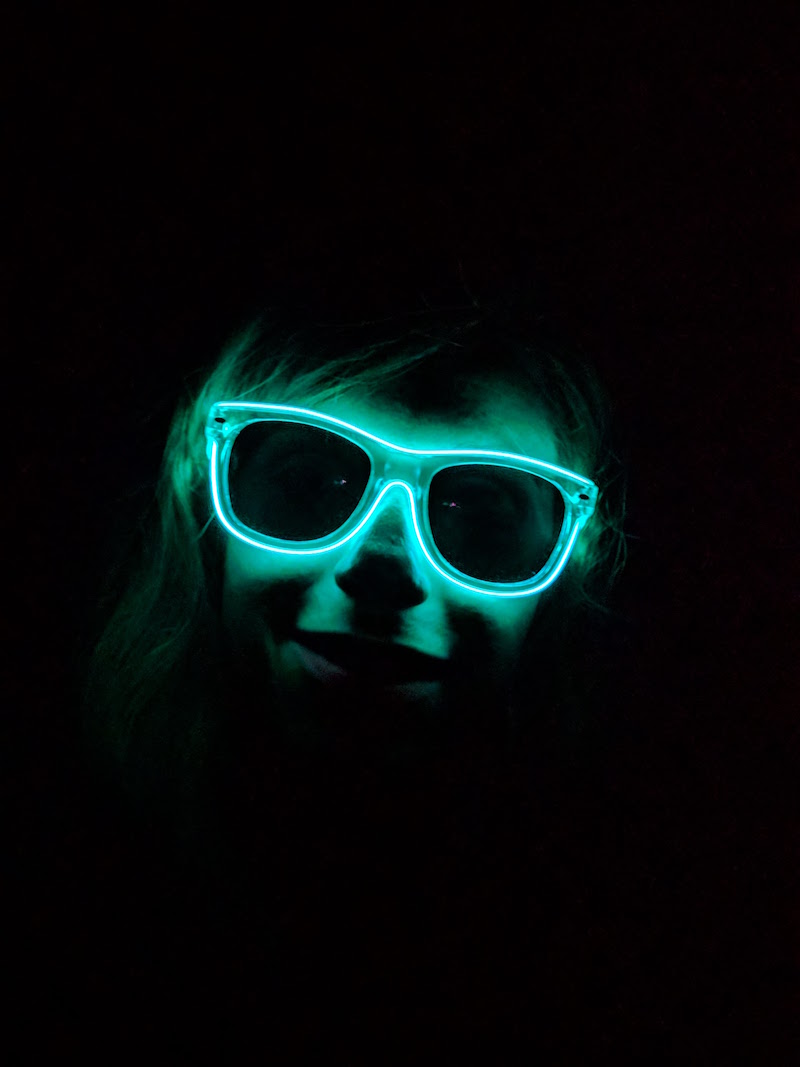
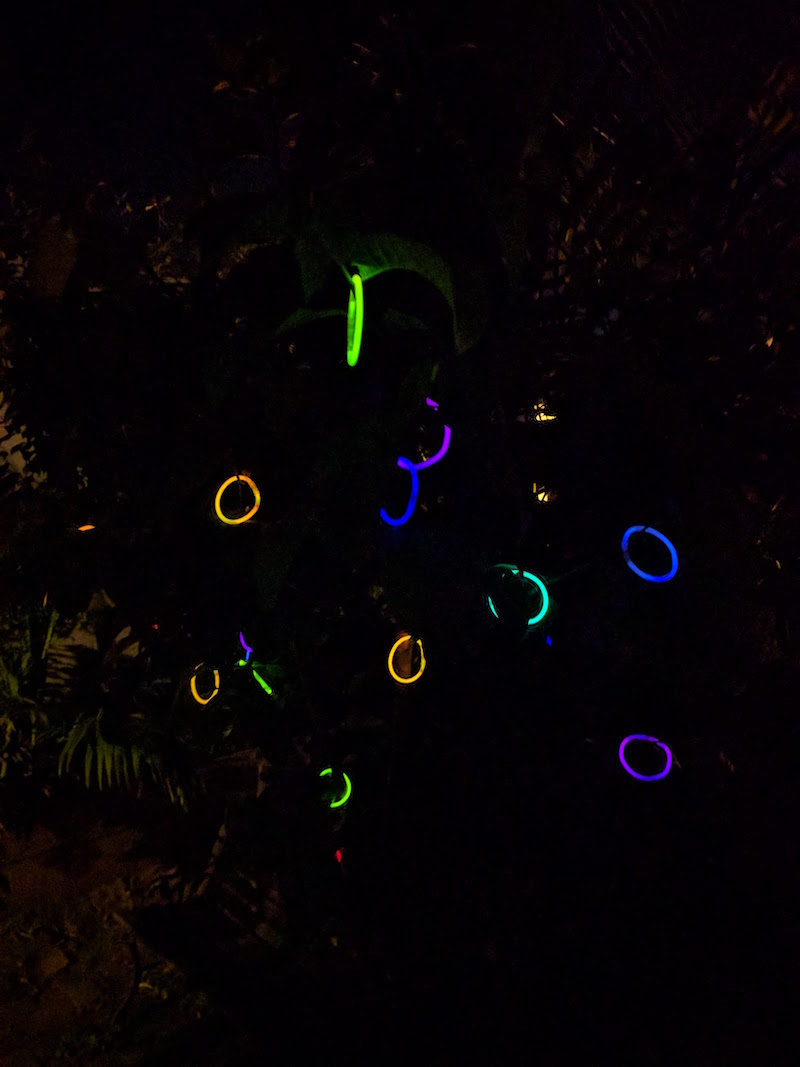
The final room was pitch dark. Like, 100% pitch black, no light whatsoever. However, every 5 minutes a blacklight would shine for about 2 seconds, illuminating the crazy blacklight designs on the walls. Here’s a little clip of the nonsensical discussions that occurred during the darkness (the screams are from when the light surprises everyone each time):

And some more photos:


Comments 2

  1. Hi. I was reaching out to you because I want to do a large fort similar to the annual forts that you do for my highschool graduation. I was going to do a “Fort After-Party” but I don’t have the slightest clue as to where to start when it comes to making a large scale cardboard fort. My grad party is in 2.5 years, so I have plenty of time to plan.. but could you please let me know some of the steps that you all took in order to make the fort, as well as how you made it sturdy so that it did not collapse? Thank you very much!
    (P.S. I love your ideas, the forts are GENIUS!)

    1. Post
      Author

      Hi there! So sorry for my delay in replying.

      My best suggestion would be to watch all of my past videos (epicforts.com) to get a gist. I think the one from 2016 shows a good amount of the building part. We got kinda handy with wood, a drill, and staple guns. We also weren’t scared to attach stuff to studs in our house walls, so that might be a problem depending on where you’re building it.

      Best small tips are:
      1. Use existing walls and sturdy dressers to hold the fort in place (don’t build it freestanding). You can see at the 0:24 mark in the 2015 video that we have a tunnel held in place between a wall and a dresser.
      2. Buy XL moving boxes from Home Depot because they are just big enough to crawl through and can slot into each other easily. Getting free used boxes is good if you’re on a budget but it will increase the time and effort you need to put in, especially for tunnels.
      3. Pad underneath any crawling areas with carpet or extra cardboard. As an adult it definitely hurts to crawl on hard ground.
      4. Mattresses make great bases for big soft hangout areas. See if anyone has one they are throwing away (that isn’t gross obviously). Edge the area with couches facing inwards to make it huge.
      5. Battery operated candles make for some cool safe ambiance in long dark tunnels.
      6. Balloon rooms are cheap and fun
      7. Super dark rooms are really well received. Like make a big enclosed hangout that is completely pitch black. Completely. Pitch. Black. Make a long dark tunnel in and out of it, and then keep covering the exposed areas in cardboard and paper until you can see absolutely nothing at all. People will love it.

      That’s probably a good start, but we can chat more via email if you want! Le.fairweather@gmail.com.

Leave a Reply

Your email address will not be published. Required fields are marked *