16

Nightmare Before Christmas Duck : Craft Tutorial

Nightmare Before Christmas Crafts

Nightmare Before Christmas Duck DIY

Time for another Halloween craft! I wanted to try and create some of the Nightmare Before Christmas toys, starting with my favorite one: the scary toy duck. I worked on it here and there over months, but in reality it wouldn’t have been very intensive if I’d done it all at once. It was a very fun project!


Nightmare Before Christmas Duck : Step by Step Tutorial

Since I couldn’t really find a method to make this online that resonated with me, I decided to start from scratch and make my Nightmare Before Christmas Duck. (There’s this one, but it wasn’t a method that I wanted to follow exactly). Once it was done, I thought it’d be good to share, so here we go!


Materials:

  • Clay
  • Scrap paper/cardboard
  • Flour for paste
  • 1 wooden dowel (for the neck)
  • Tape
  • 4 bottle caps (for the wheels)
  • Acryllic paint

Step 0: Reference Photos

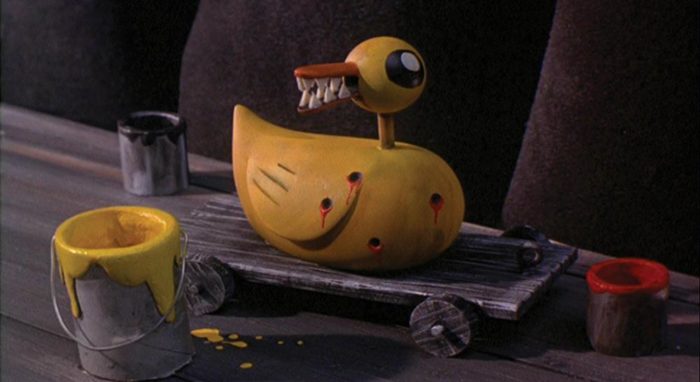
I found a still shot of the duck from the movie, and based my Nightmare Before Christmas craft project off of that. Here it is below (this is NOT my final, this is a claymation version from the actual movie):

10031018_2


Step 1: Paper Mache Body

IMG_0584

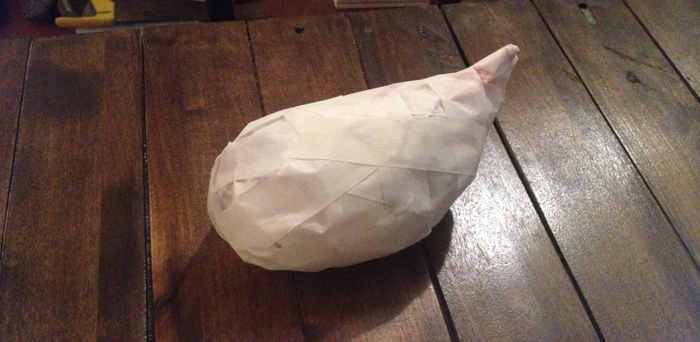
Bundle up some scrap paper into a duck body shape, and tape it up to make it smooth-ish. Then you want to paper mache that bad boy, until it’s solid.
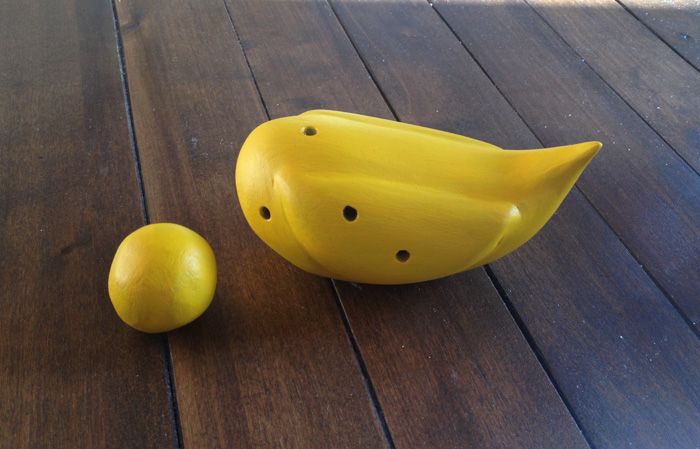

Step 2: Clay Body

IMG_0609

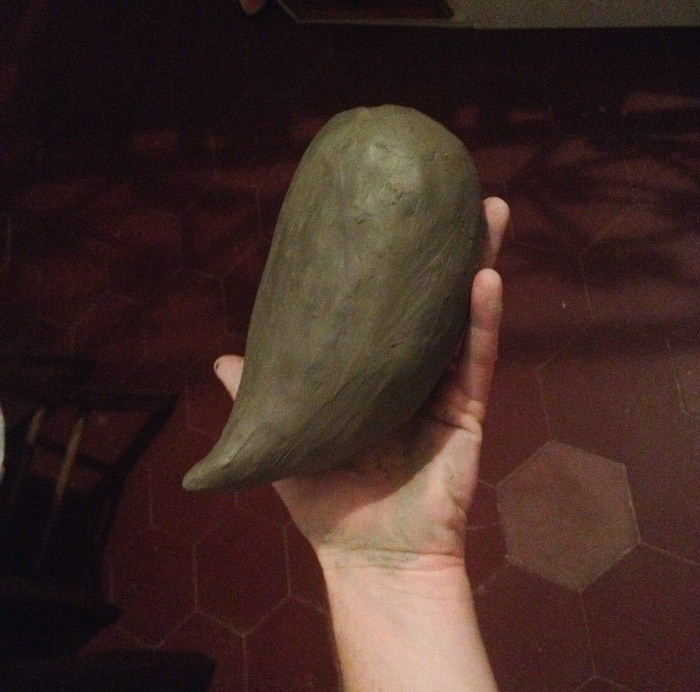
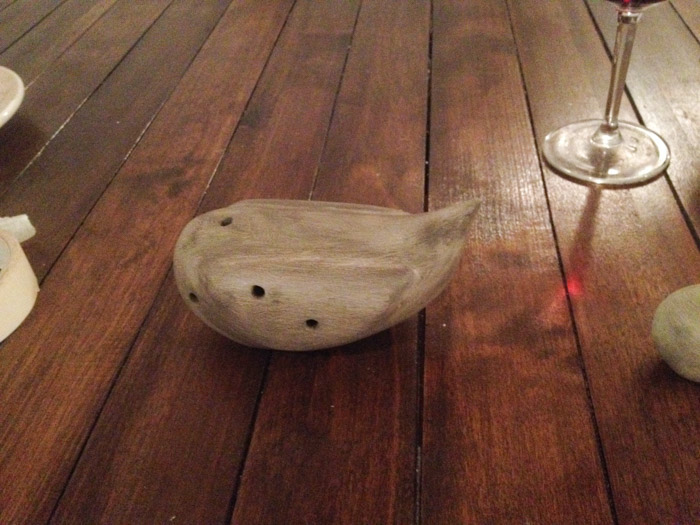
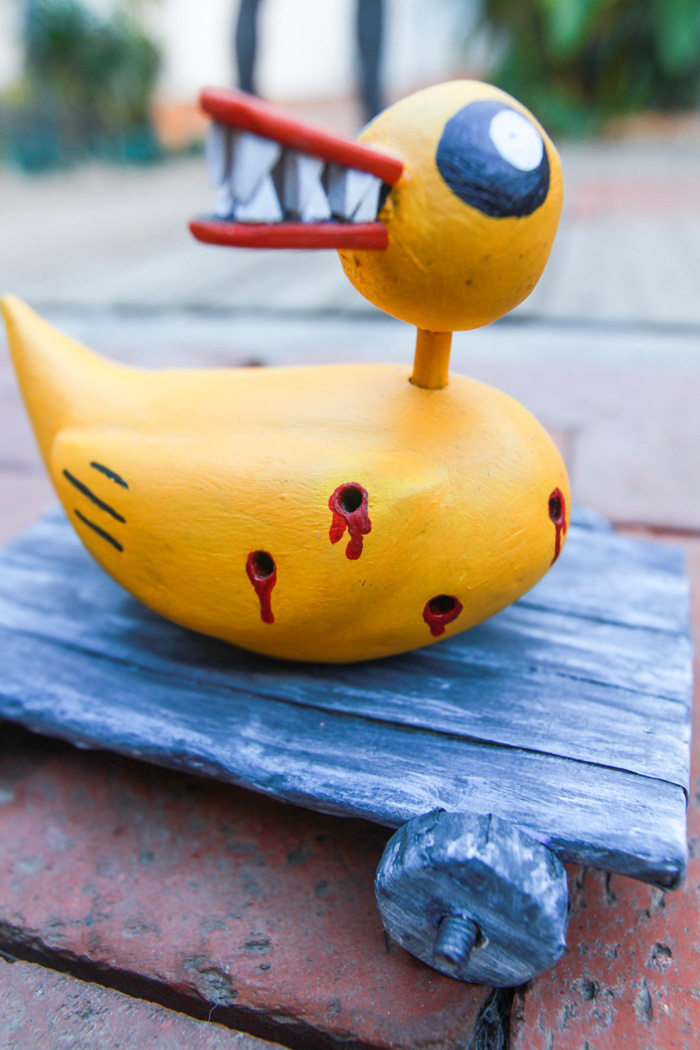
Basically just cover the paper mache duck body in clay until it’s nice and smooth. Add the wings on the side, and before the clay dries, use a pencil to push bullet holes into the duck, as well as a hole for where his neck wooden dowel will go.

You also want to create a smooth round head out of clay (you can kinda see it on the right of the picture below). Be sure to add a pencil hole in that too, so it can plonk on top of the body when you’re ready.
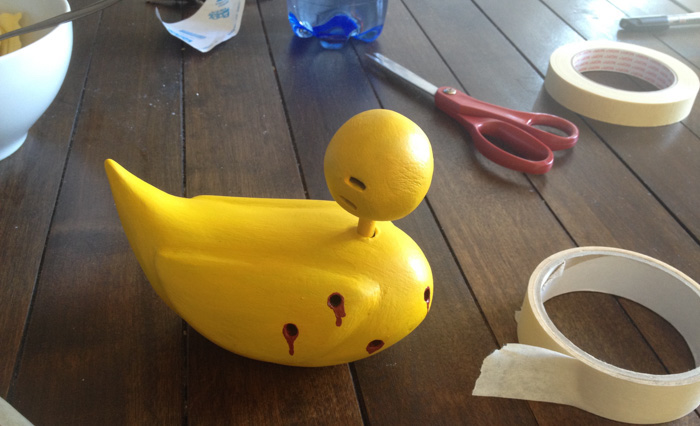
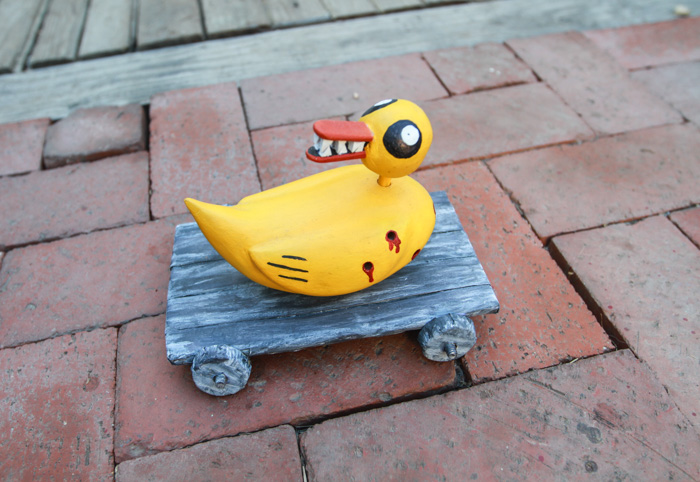
IMG_0793


Step 3: Paint!

IMG_0796

Paint up that ducky! I usually start with white when I paint my projects, as it’s the easiest way to cover whatever color is underneath. Don’t forget the bullet hole blood. Put the head and body together using the wooden dowel.
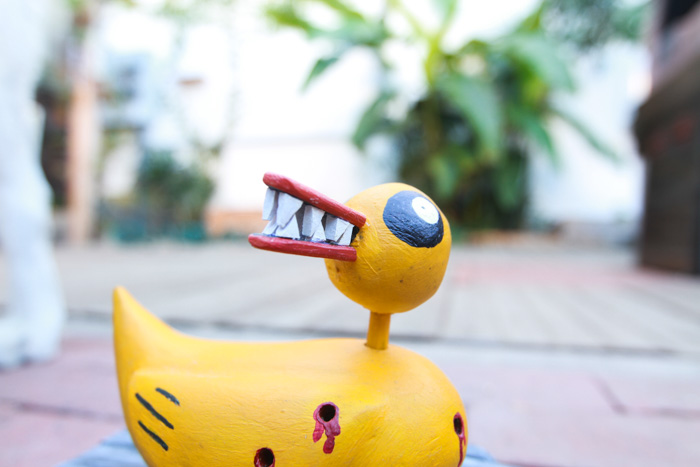
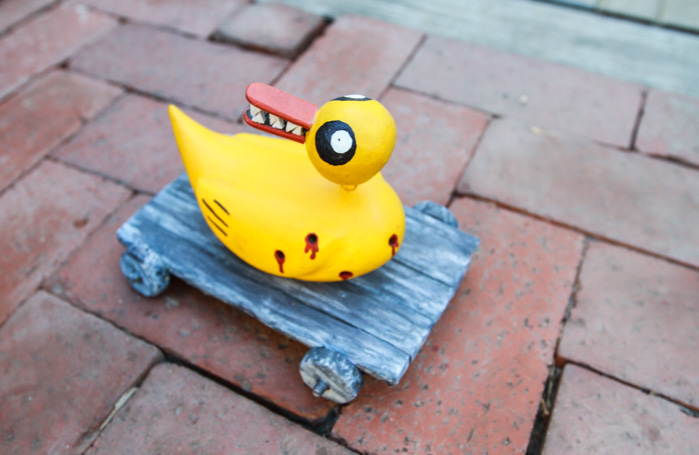
IMG_0894

IMG_0899


Step 4: The Mouth!

IMG_0967

Cut up some tall triangles for his teeth, and some rounded rectangle-type shapes for his beak. Then paint them up.
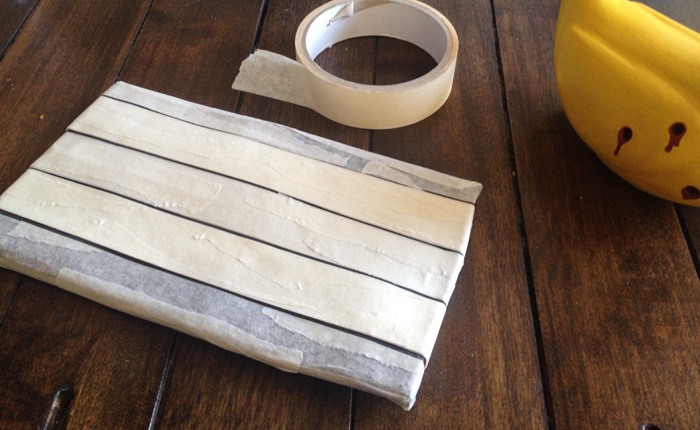
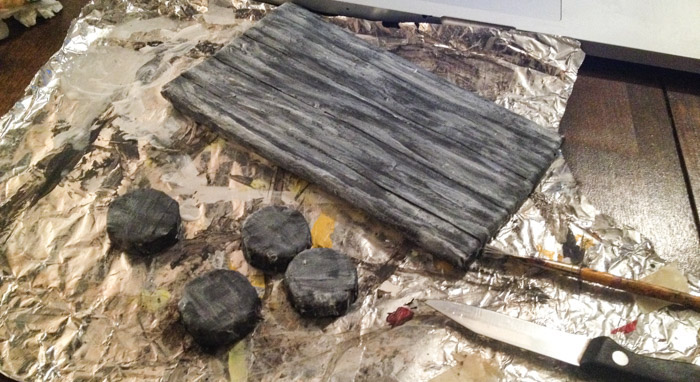
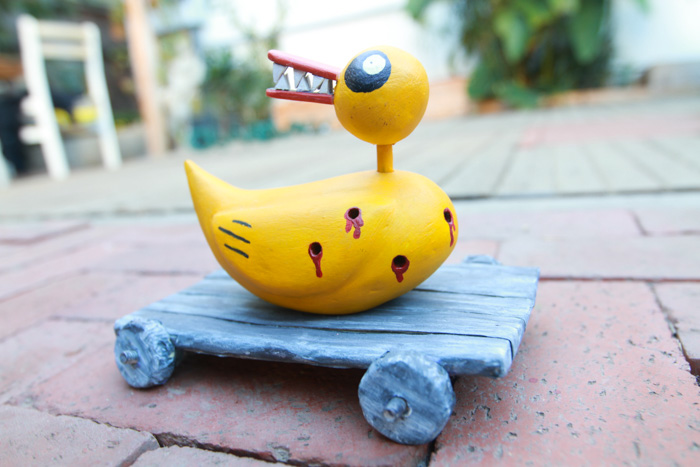

Step 5: The Base

IMG_0604

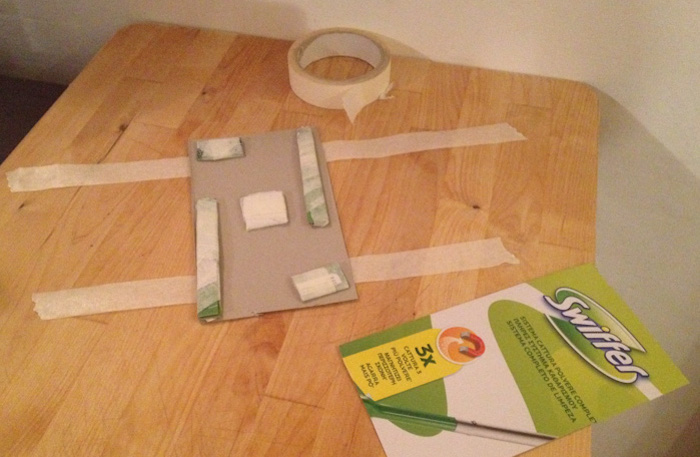
Use random cardboard and tape to create the base he’s sitting on. I left gaps in between the tape strips to give the illusion of wooden planks.

IMG_0901

Tape up four bottle caps for the wheels. Paint both pieces as closely as you can to the original version.

IMG_0966

And then attach it all with hot glue! The end!

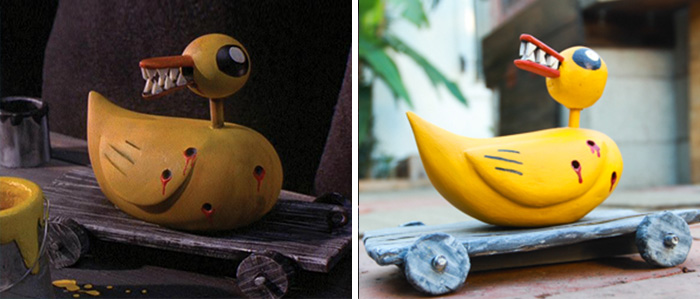
The Final Product: My First of the Nightmare Before Christmas Toys

Nightmare Before Christmas Crafts

Nightmare Before Christmas Toys

Nightmare Before Christmas Duck Tutorial

Nightmare Before Christmas Tutorial Scary Duck Toy

Nightmare Before Christmas Toy Duck

Nightmare Before Christmas Halloween Decoration Tutorials

Nightmare Before Christmas Craft

Nightmare Before Christmas Duck DIY

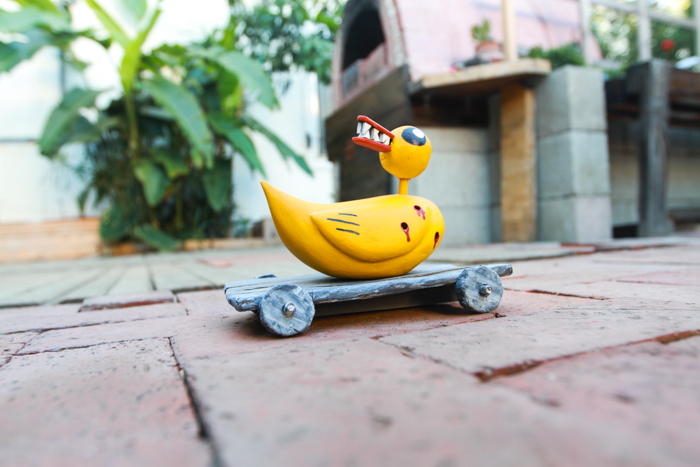
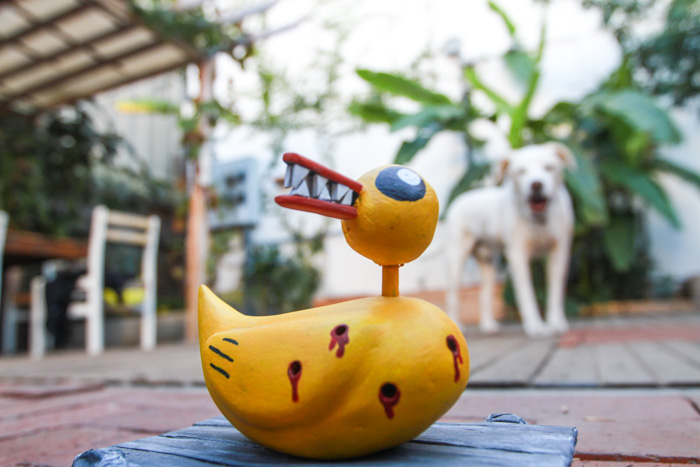
Here is the “original” compared to my craft duck. I think I did pretty ok!

Nightmare Before Christmas Craft Toy Duck

This was my first Nightmare Before Christmas craft, but it definitely won’t be my last!

Comments 16

  1. Almost perfect, except you forgot the pupils 😛 It seems that you put screws through the bottle caps. How did you do that?

    1. Post
      Author

      Ha, it does look like I missed them! They are actually there in real life—I think they just disappeared in the photo when I brightened it during editing.

      And I actually used the tip of a hot glue gun to just melt a hole through the bottle caps, so I could slip the screws through 🙂

  2. Pingback: Zombie Nutcracker - The Surprise-aholic

  3. I made a duck using your instructions! It’s too cool, thank you so much for showing an alternative to carving wood, lol. I’m having a nightmare before Christmas theme for Halloween this year and the crafts are coming along nicely 🙂 Wish I could attach a pic!

    1. Post
      Author
  4. Hi there, your replica came out really good! Amazing job! I’m trying to replicate the duck as well using only clay for my beginners ceramic class so I’m in for a great journey. Thanks for sharing ^_^.

    1. Post
      Author
  5. Very well done. I will try this out. I am doing Nightmare Before Christmas Halloween for this year’s 25th anniversary.

    1. Post
      Author
  6. Looks Great!! Can you tell me how DURABLE this is? Will it hold up to a 4 year old boy playing heavily with it? Does it really ROLL on the wheels?

    Thanks,
    BK

    1. Post
      Author

      Hi! I would say this is definitely not a kids toy—it would probably turn into rubble within minutes. I’d suggest making the body and head out of wood (rather than clay) for a kid.

  7. Just found your site. We had a Nightmare Before Christmas themed Halloween this year. Would love for you to see pics if you’d like.

    1. Post
      Author
  8. I wish I found this sooner!! I had a Nightmare Before Christmas wedding and made my own props but couldn’t find a duck tutorial I could follow!! Looks amazing I will try it anyways!!

    1. Post
      Author

      Woa that sounds awesome, what a fun theme for a wedding! Do you have any photos of your props? I’d love to check them out 🙂

Leave a Reply

Your email address will not be published. Required fields are marked *