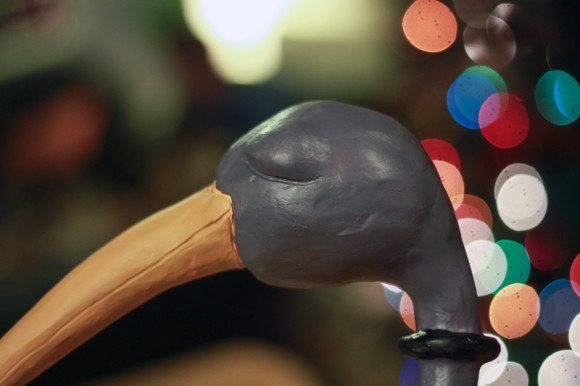
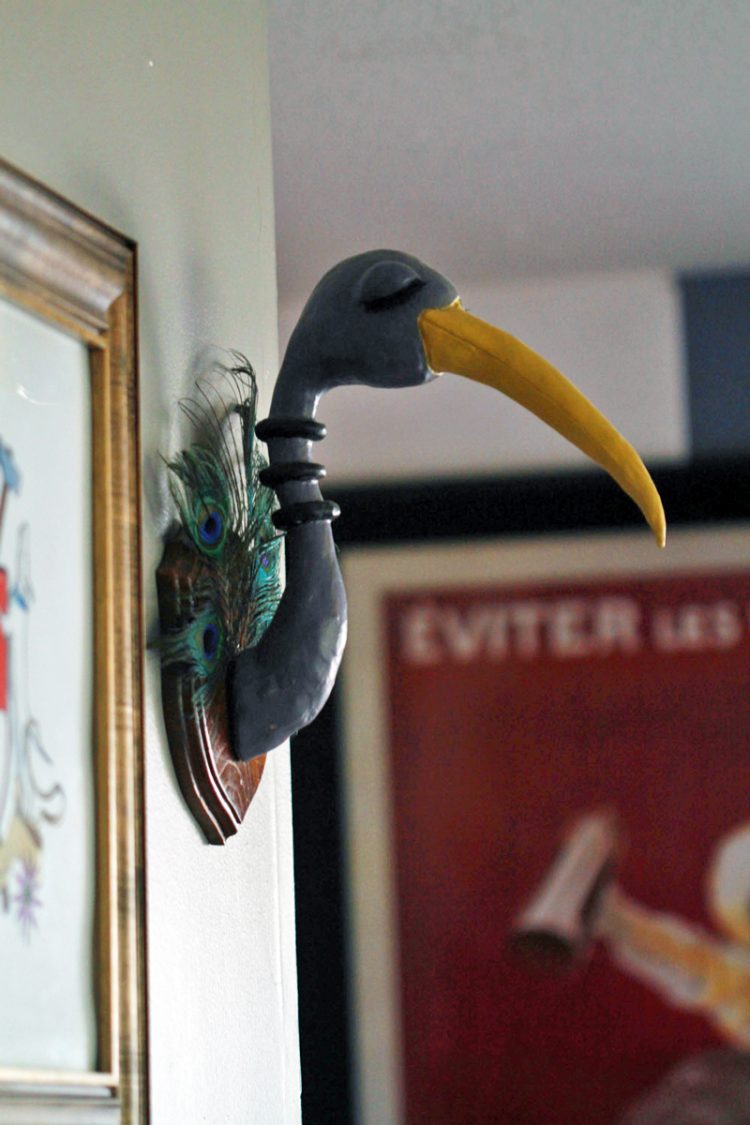
Inspired by the work of Dr. Seuss and his fun whimsical taxidermied fake animals, I decided to create a bird-creature for the wall.
Dr Seuss Craft : Taxidermy DIY
Materials:
- Scrap paper
- Paste (made from flour and water)
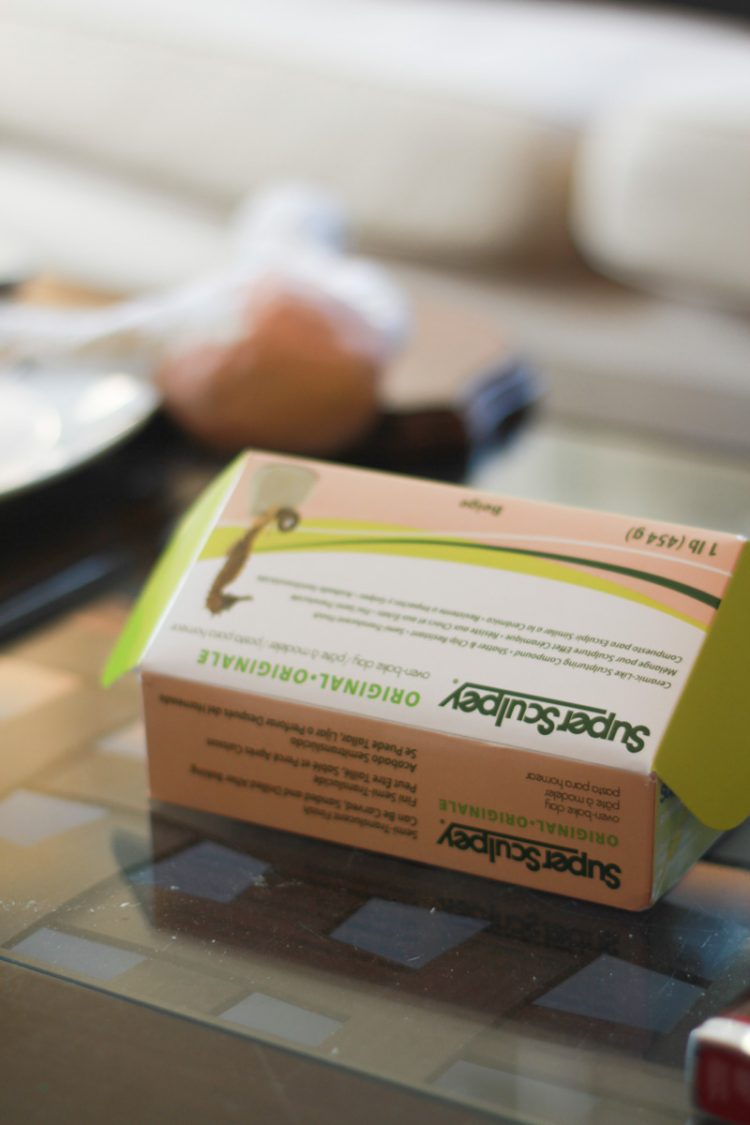
- Super Sculpey
- Some sort of scraping-device
- Paint
- A mounting board (can be bought at Michael’s art store, or a thrift store, or you could use a thin slice of an old tree trunk)
….let’s begin the Dr Seuss Craft Taxidermy DIY!
Step 1
As with almost all of my paper-based crafts, the first step is to get a bunch of scrap paper and crumple it up into the general shape you want, and then tape it all around to hold it in place. I unfortunately missed a photograph of this step, but hopefully you can picture the gist. Make sure you create a shape that can be mounted on a wooden block and not stick out in a super awkward way.
Step 2
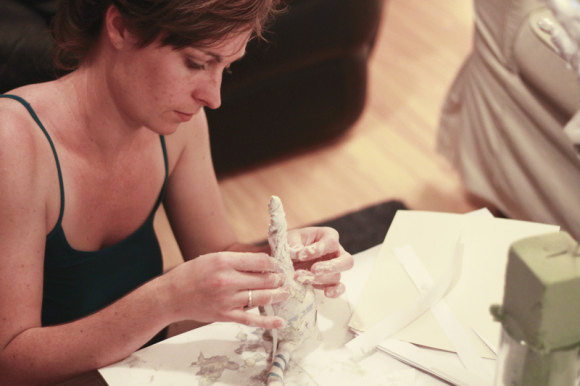
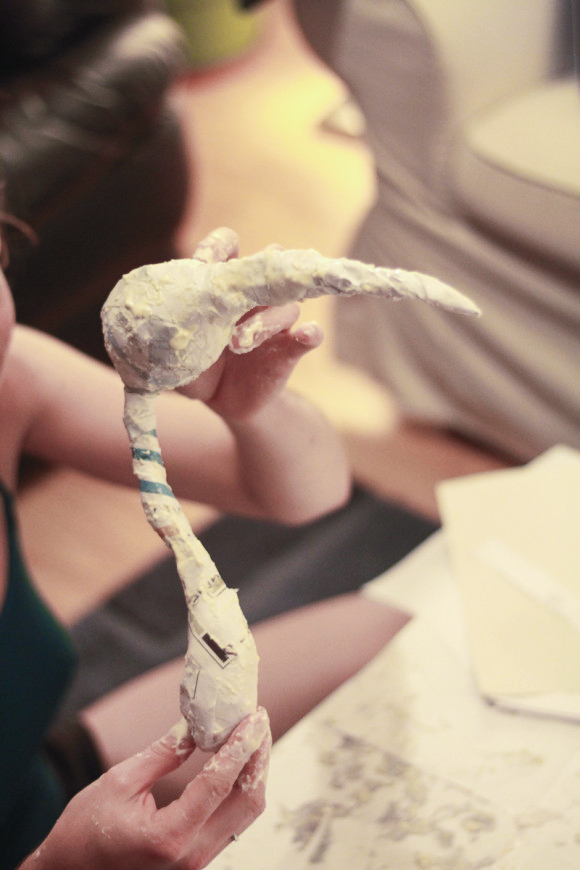
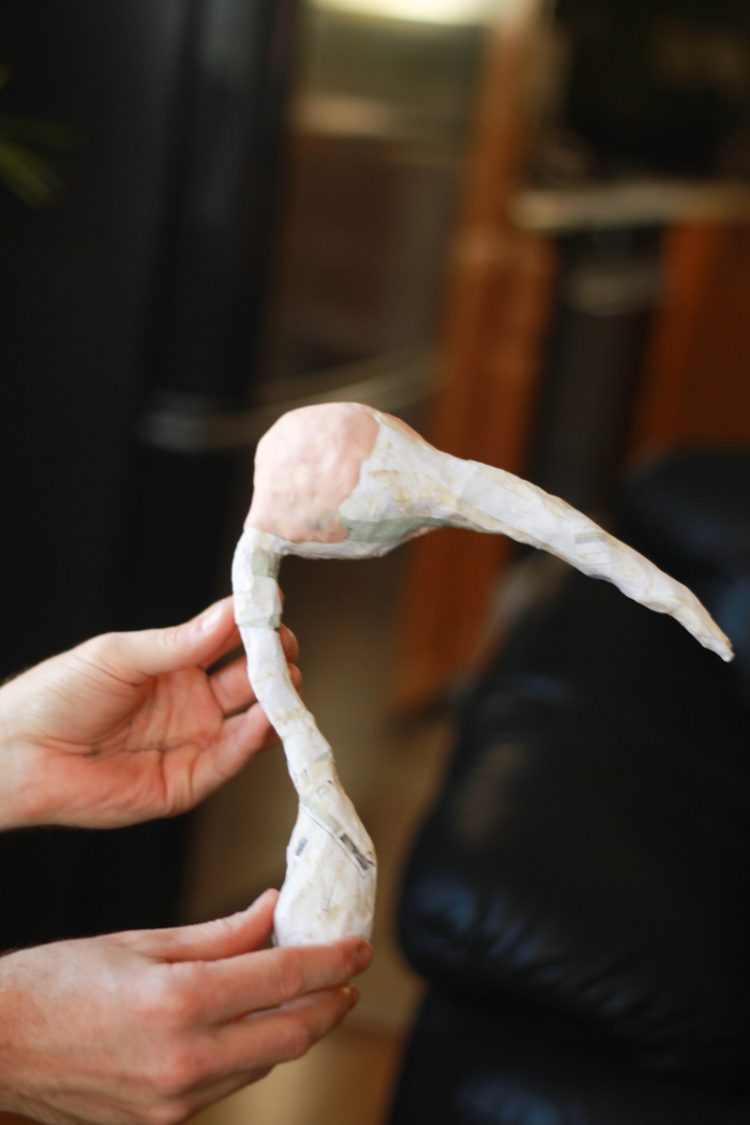
Next you do the paper mache thing. Cut up a ton of pieces of paper into strips, and use flour & water paste to “glue” them all over the shape. After every few layers, you can put the whole thing in a warm oven to get it to dry faster.
Step 3
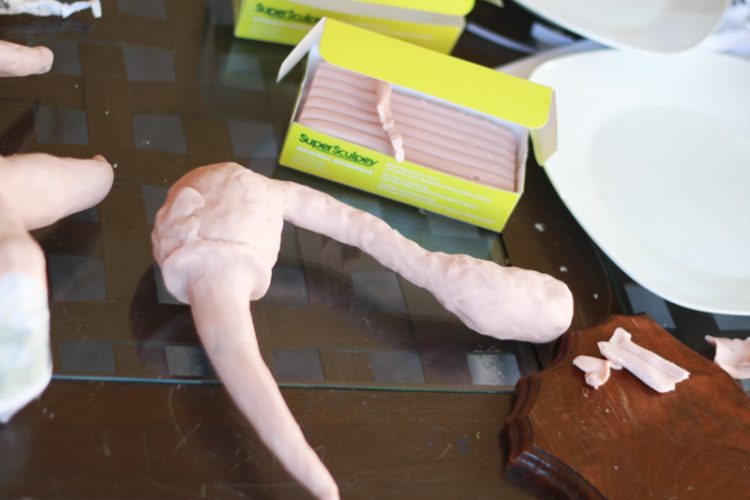
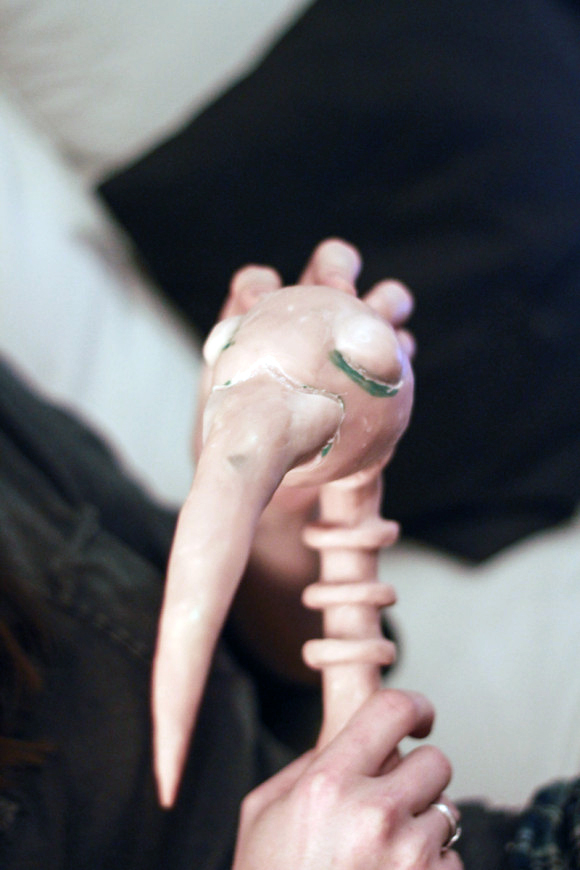
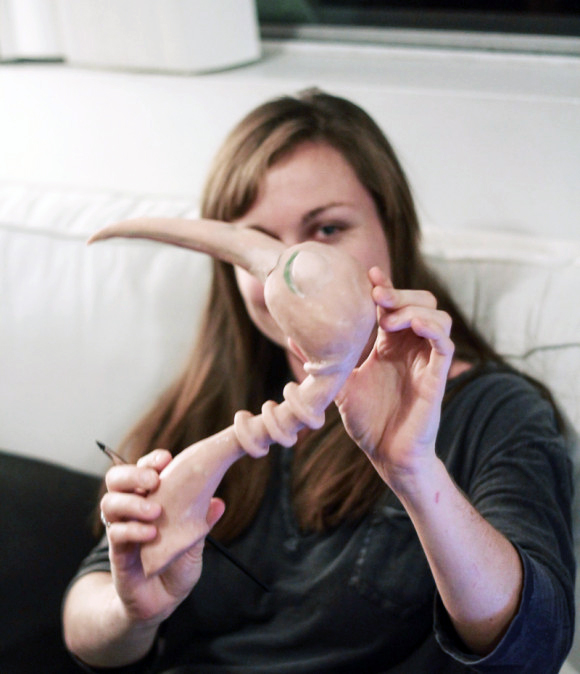
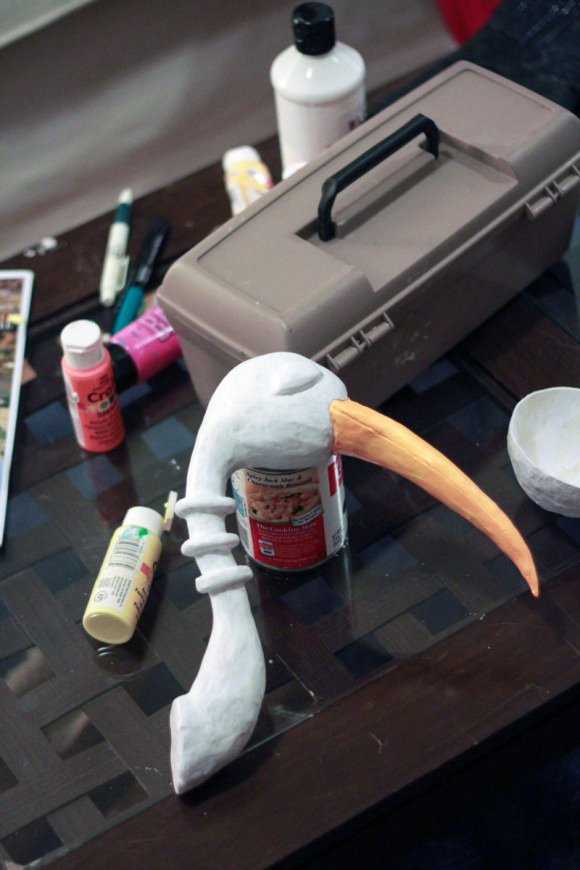
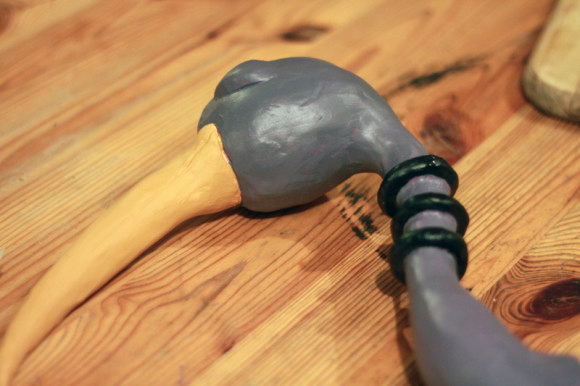
Super sculpey time! Use the sculpey to smooth out the roughness of the shape. Make sure you cover the entire creature in the sculpey. ALSO! It is important you make the back of his neck (where his head would have been “chopped” off) into a flat surface, so that it can go flush against the wooden board when you are done.
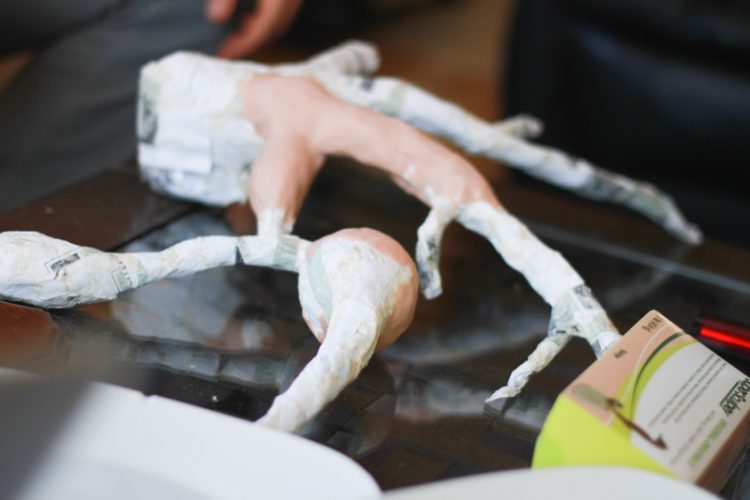
You can see a second Dr. Seuss craft animal in progress in the background…
Step 4
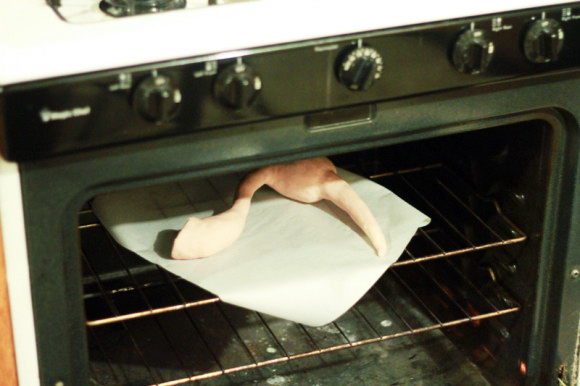
Once you’ve create a shape you like, bake that bad boy in the oven according to the directions on the sculpey box.
Step 5 (optional)
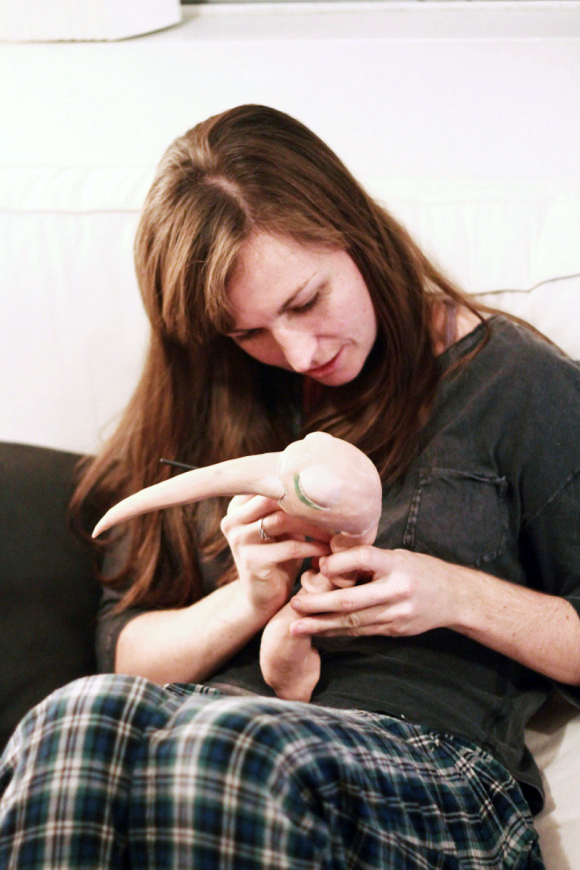
I couldn’t quite get the detailed lines to work prior to baking the sculpey, so after it had hardened, I used a sharp sculptor’s tool ( actually I think it was an old dentist’s tool) to create grooves for the bottoms of his eyelids and around his mouth.
Step 6
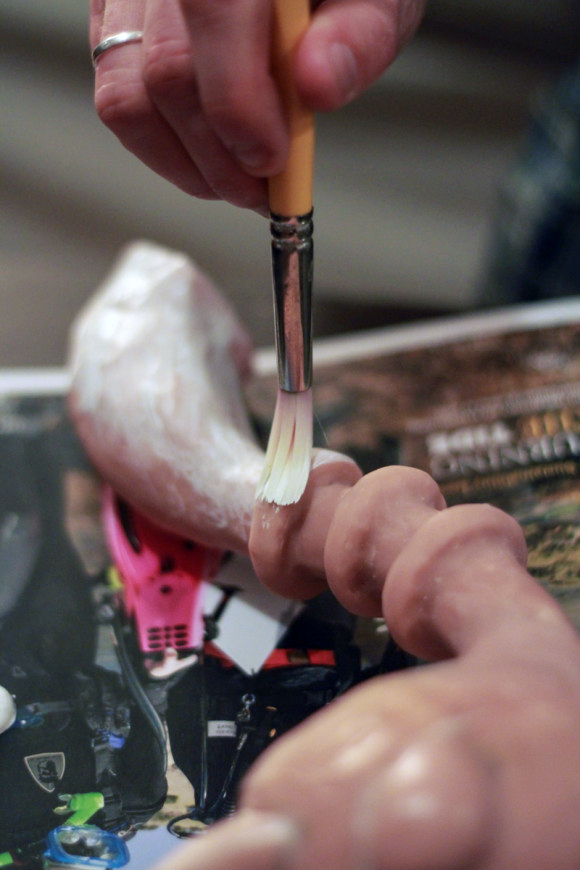
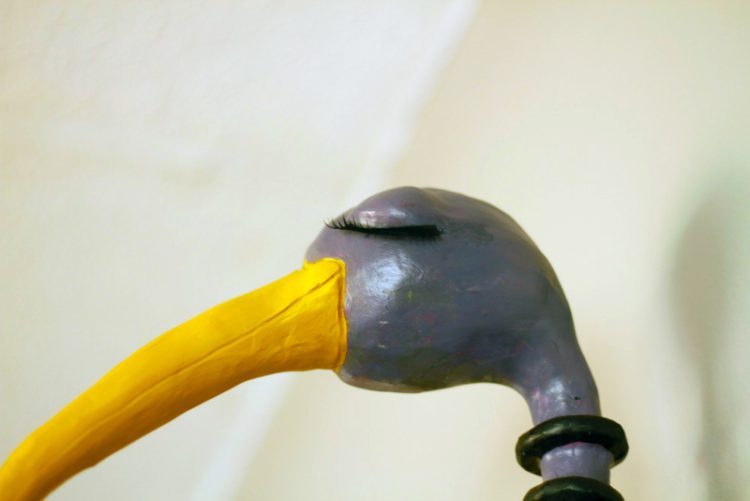
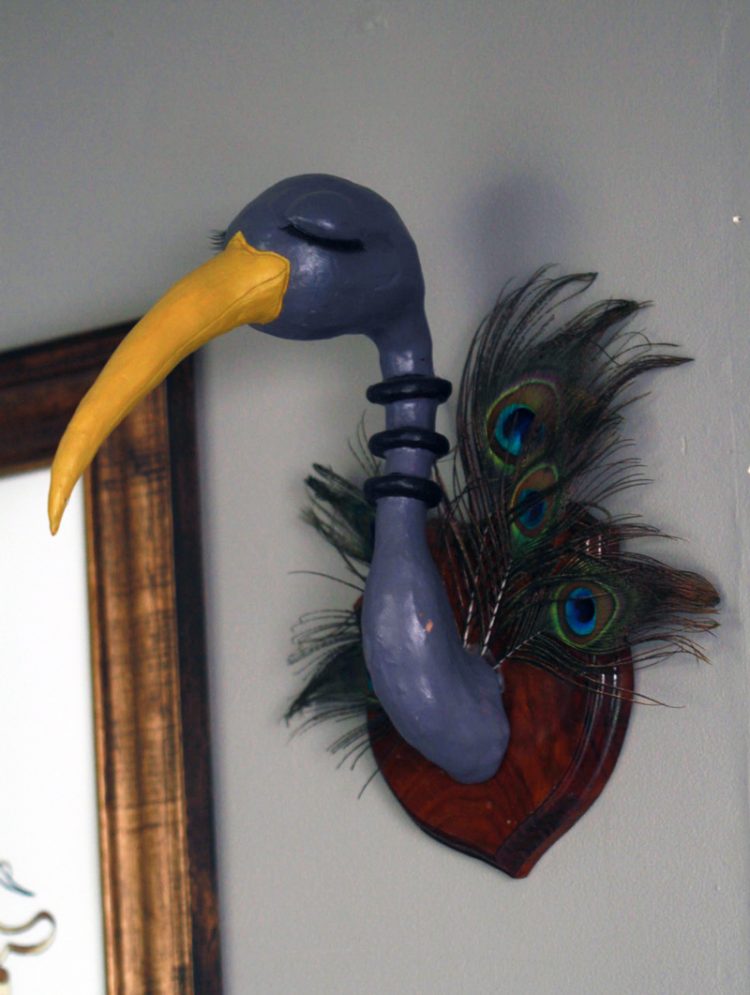
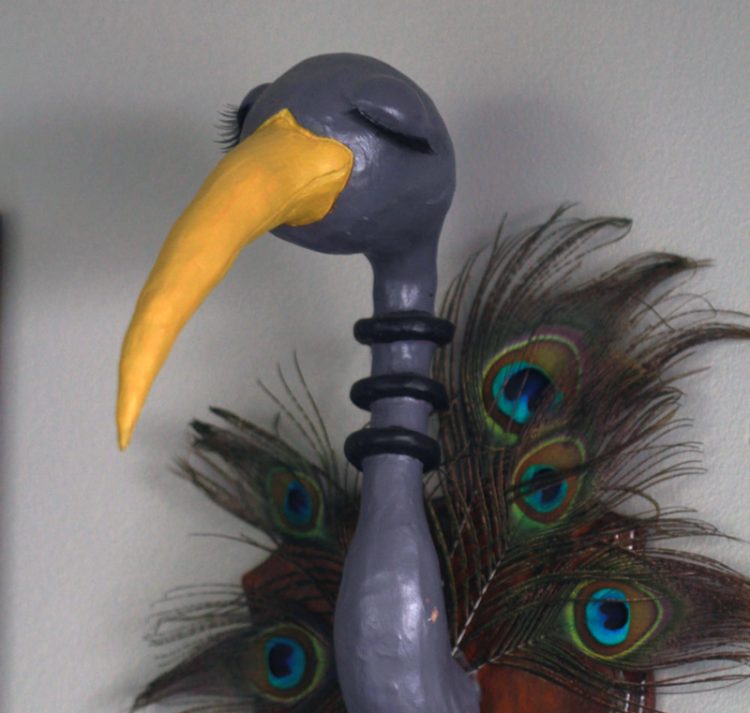
Paint him up! I’ve learned that it’s best to make sure something has a base color of white before you start trying to add new colors. It just makes it easier to get to the final color you want.

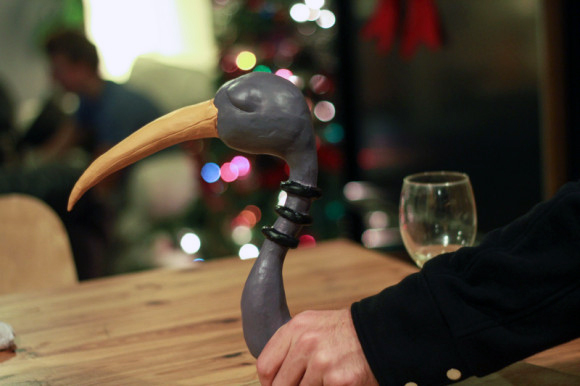
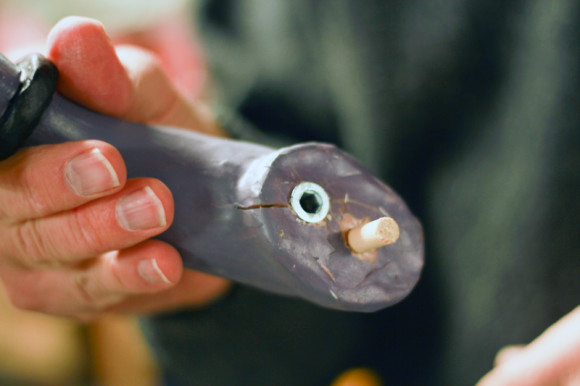
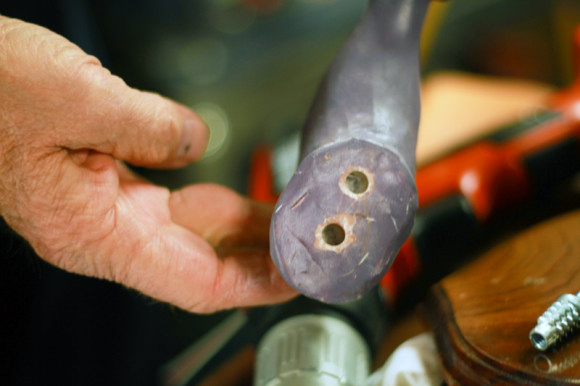
Step 7
To attach the head to the board, I drilled two holes into the bird’s neck and into the mounting board and used dowels to get the head stuck in place (I say that I did it, but actually I had help from someone proficient with power tools).
Step 8
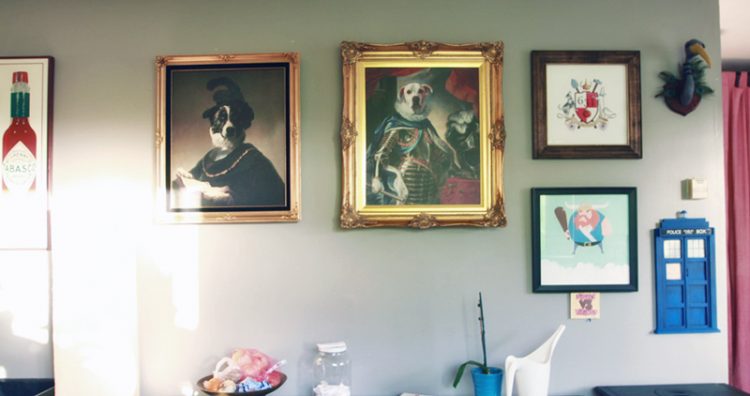
Add any little embellishments you want—I bought glue-on eyelashes from the dollar store to make my bird more feminine, then added some peacock feathers to add a little more varying texture. Then hang it up on the wall, sit back, and revel in the weirdness!
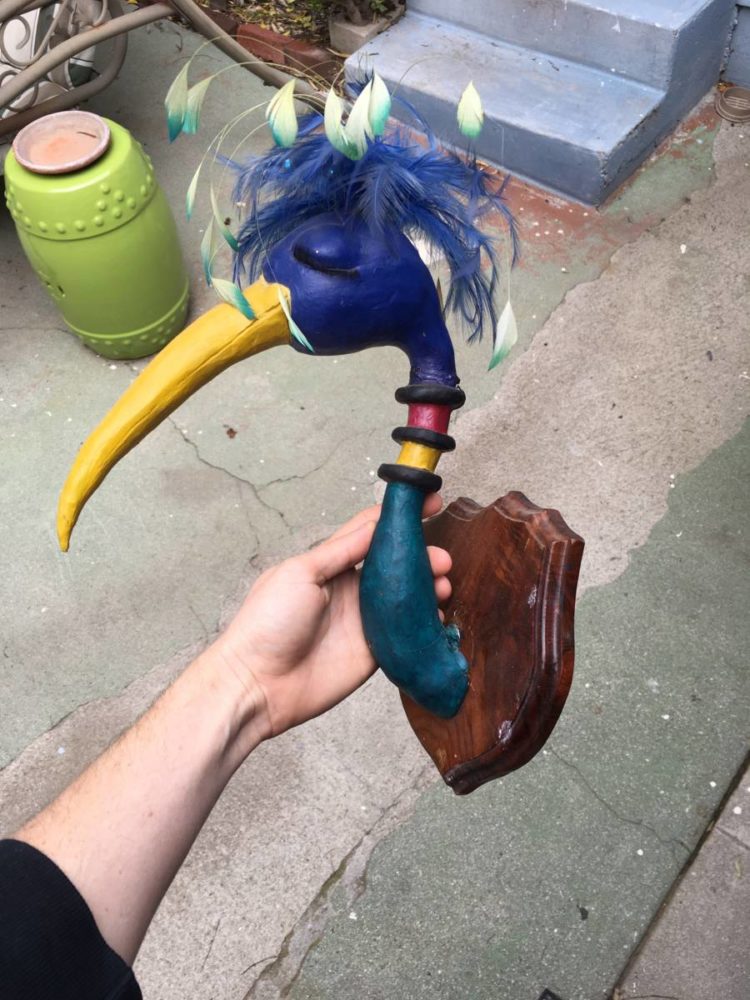
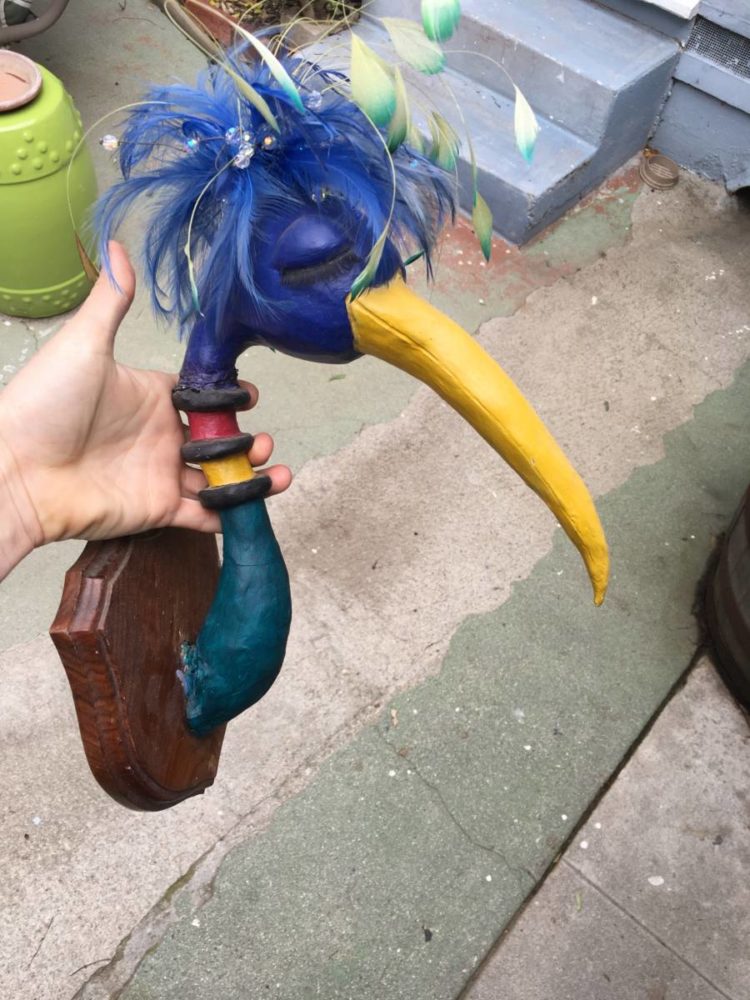
EDIT: I updated it to make it more happy and fun:
Leave a Reply
You must be logged in to post a comment.