
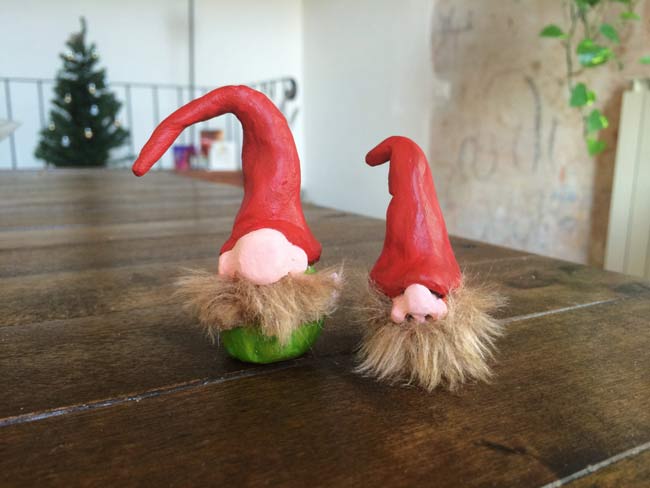
After a semi-failed attempt at making the toy duck from The Nightmare Before Christmas, I ended up with a ton of spare clay. Time for some Christmas crafts — a christmas gnome!
DIY Gnome Tutorial
Ingredients:
- clay
- paint
- furry stuffed animal for the beard (e.g. from a thrift store)
- scissors
- glue
Let’s do it!
Step 1: Make your gnome from clay
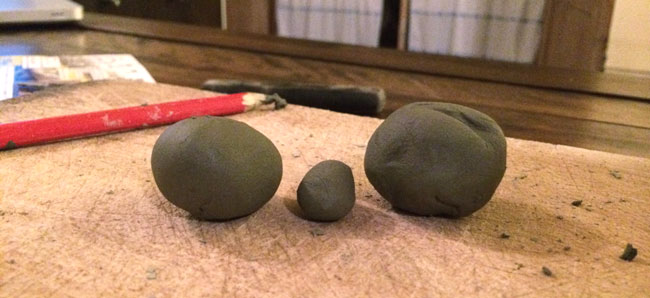
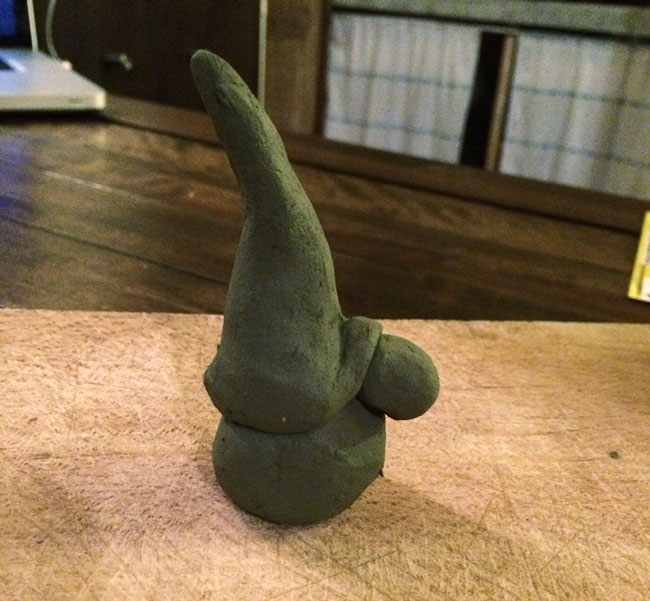
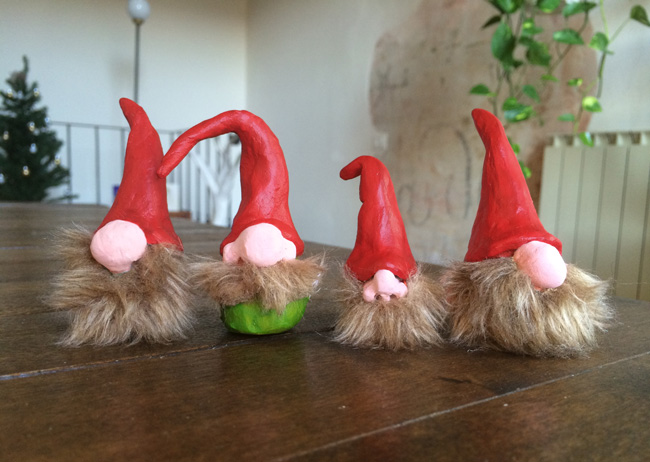
Start with three balls of clay — two big, one small. If you want ears on your diy gnome, it would be two big, and three small.

Make one of the big balls (har har) into a cone, for the hat.
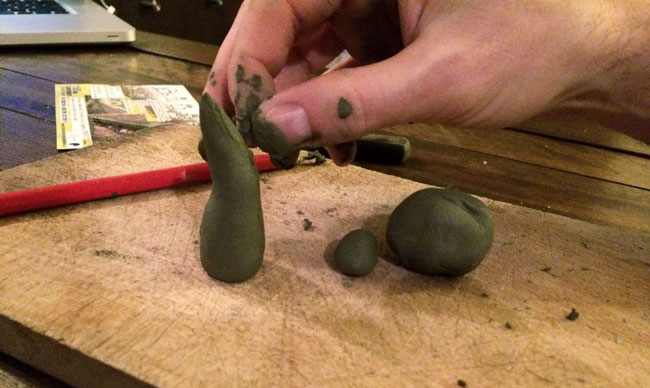

Put the cone onto the other big ball, with a little lip at one side (where the nose will go).
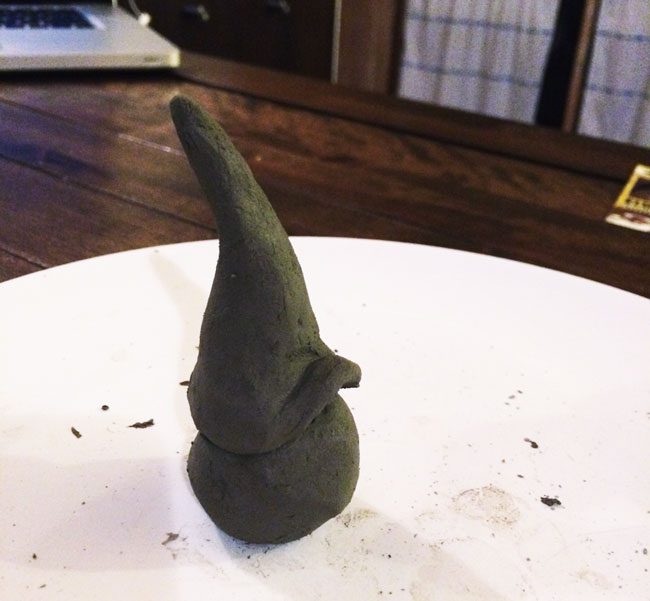

Shape the small ball into a nose. You can make it any shape—long, round, or even with nostrils. Nestle it underneath the hat lip.


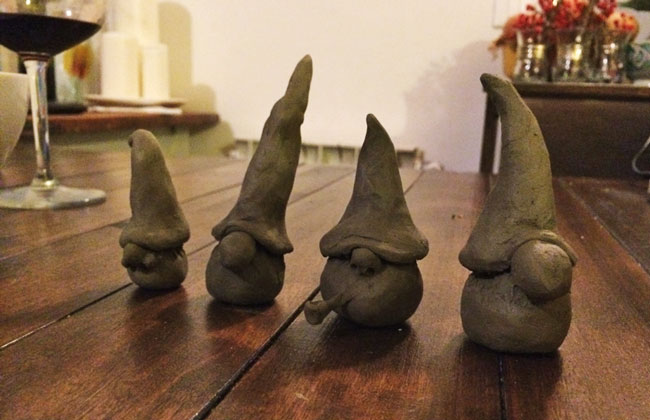
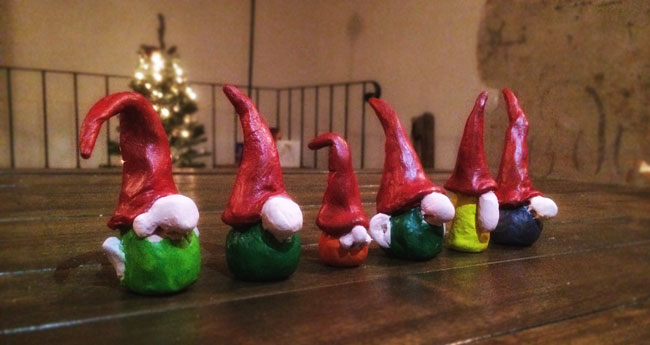
If you’re going to add ears (with two extra small balls), do it now. Here are a few we made. The one with a pipe was a bad plan—the pipe broke off in like two seconds.

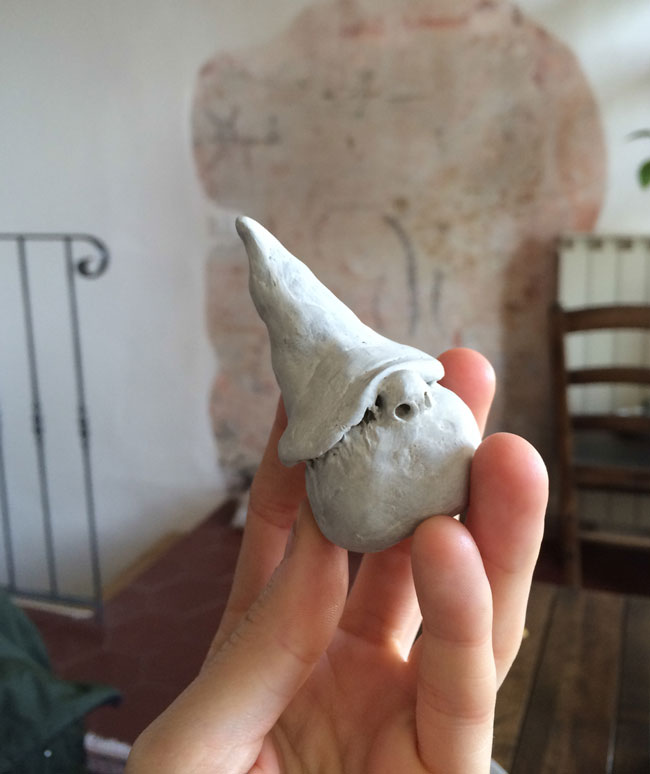
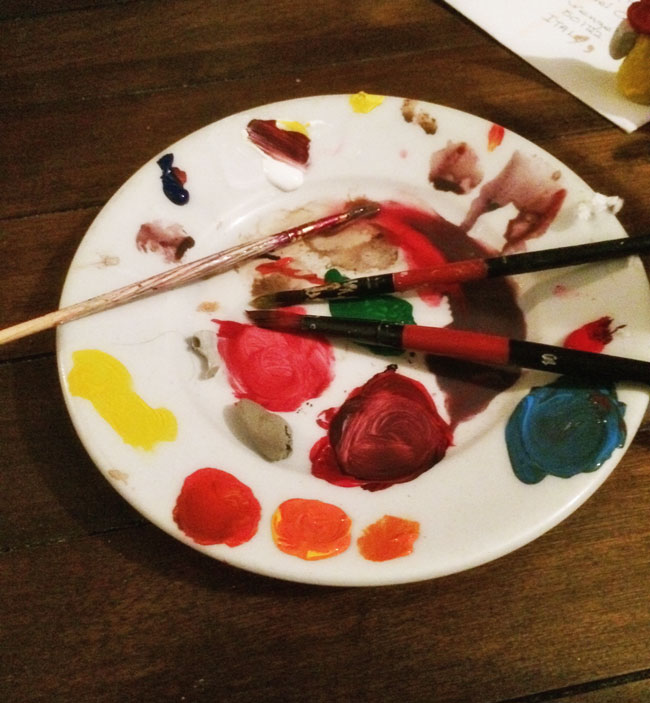
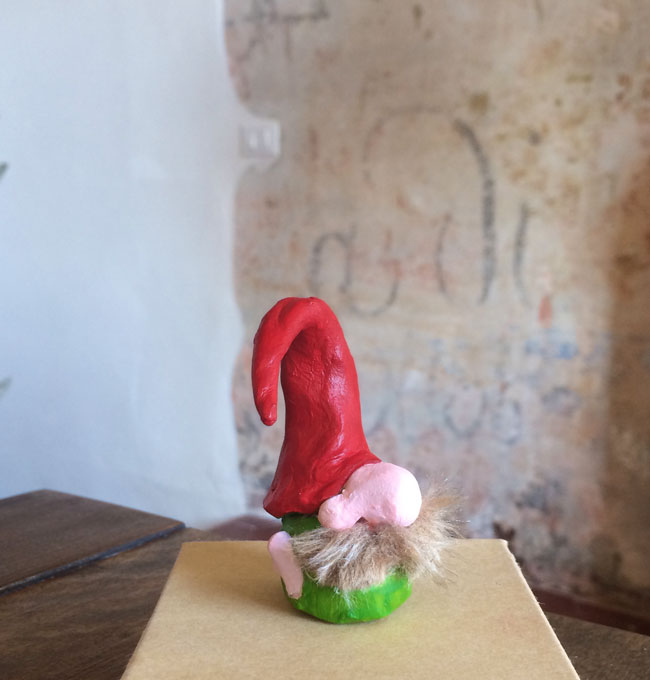
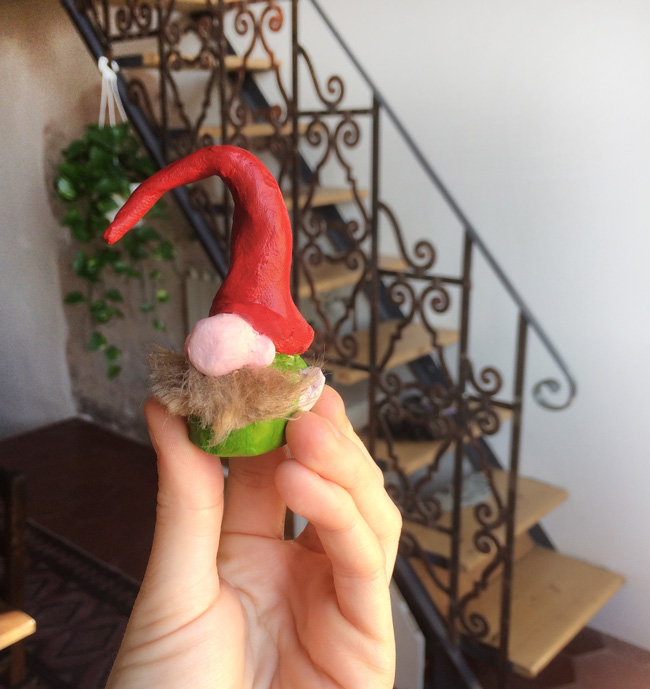
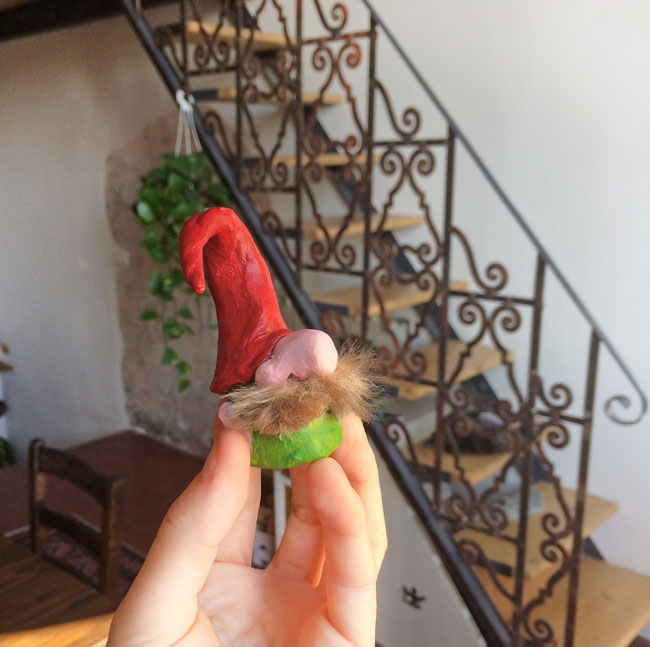
Once they are all dry, paint them over with white acrylic paint as a base layer.

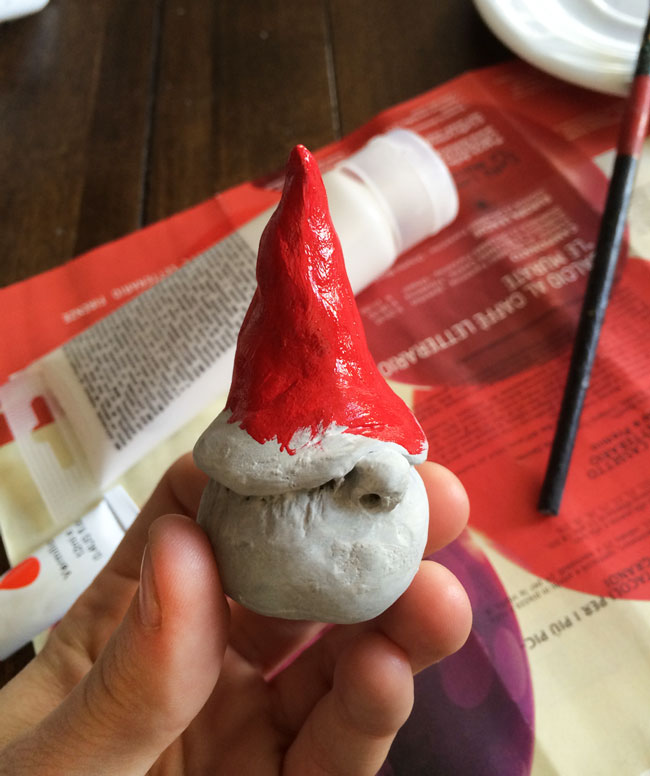
Give them some color! Classically, garden gnomes have red hats, but do what you want obviously.


Now for the gory part (it seems that many of my DIYs turn out gory, e.g. zombie teddy, Halloween Photoshop).
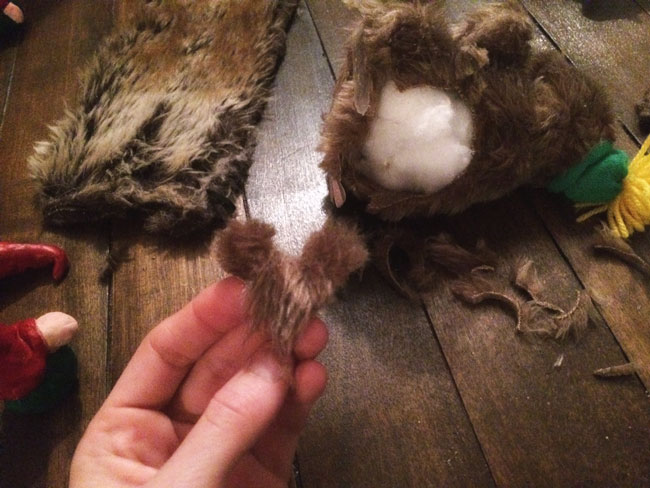
Grab your stuffed animal….and gut him. You want to get strips of his hair, still attached to the “skin” (blergg).
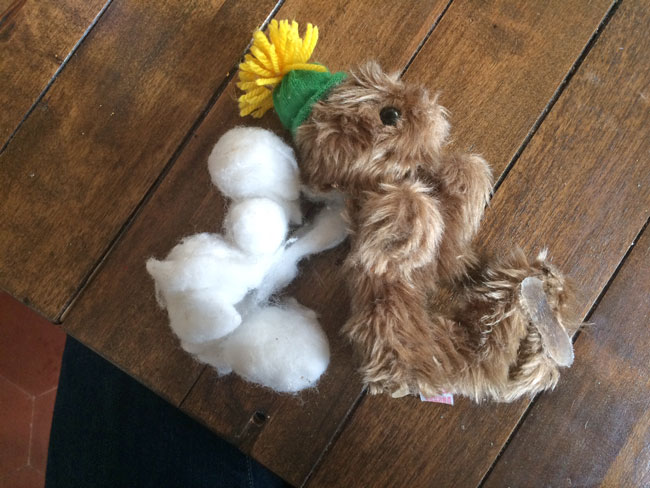
Cut them into heart shapes if you want beards, and mustaches shapes if you want mustaches (dur).
Glue them to your little gnomes, and that’s it for the DIY gnome tutorial!


If you want to make them into a Christmas ornament gnome, just glue some string onto the back, or hook it onto their little hat, and you’re good to go!