
As you may have guessed, Halloween is my absolute favorite holiday. This year I plan to be a zombie child…and what would a zombie child be without her zombie teddy?
Here’s my how-to:
Zombie Teddy DIY How-To:
Materials:
- Teddy bear
- Mod Podge
- Paste (flour + water)
- Paper (for papier mache)
- Red paint
- Various plastic bits (I used a plastic knife, water bottle and fake nails)
- Plastic grocery bag
- X-acto knife or scissors

Adorable little teddy doesn’t know what’s coming to him yet….

STEPS
1. Cut the teddy open down the center (ouch). Remove a bit of the stuffing right in the center.

2. Cut out some ribs. I used some plastic from a strawberry box, but even a cereal box would work.

3. Attach the ribs to a good solid piece of plastic (like a plastic knife) with glue or tape.

4. Papier mache that bad boy. Just mix some flour and water til you get a mud-like consistency, then cover the rib-cage piece in gloppy pieces of paper. Let it dry a couple hours, or put it in the oven on the warm setting for half an hour.

Voila!

5. Cover the inside of the teddy in mod-podge or glue to make it a bit stiff. But make sure you don’t use so much that you can’t still push around the inside stuffing (for getting the rib cage in there). Then cover it in red paint.

6. Stuff those ribs up into his chest cavity. The top of the knife went up into his head (this is a very violent DIY in case you haven’t noticed).

He’s starting to look a bit like a zombie teddy…

7. Grab a plastic grocery bag, and cut the handles off.

8. Cover those in mod-podge or glue, twist them up and let them dry. Then paint them with a dark red paint. It’s better if it’s a different shade of red than the red of his chest cavity.

9. Once those are dry-ish, stuff them into the bottom of the rib-cage area. They’re his intestines, and they should be spewing out. You could even give him one of the ends to hold in his hand or in his mouth, for extra horror and violence.

10. I wanted the whole thing to be really shiny and wet/fresh-looking, so once all the paint was dry I covered all his insides in a glossy mod-podge.

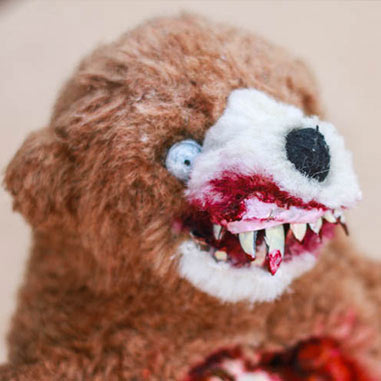
11. Time for his face! Slice open his mouth.

12. For his teeth, I used some old fake nails that I painted a dirty white color.

13. I used a plastic piece from a water bottle to make his gummy area (painted pink), to give the whole mouth structure some firmness. Then I glued some crazily-cut teeth in.

14. Bloodied his mouth up…

15. Gave him a zombie-eye….

And I’m done!
The final product:


EDIT:
Here’s a photo of the final costume (more photos here):

")
Happy Halloween!
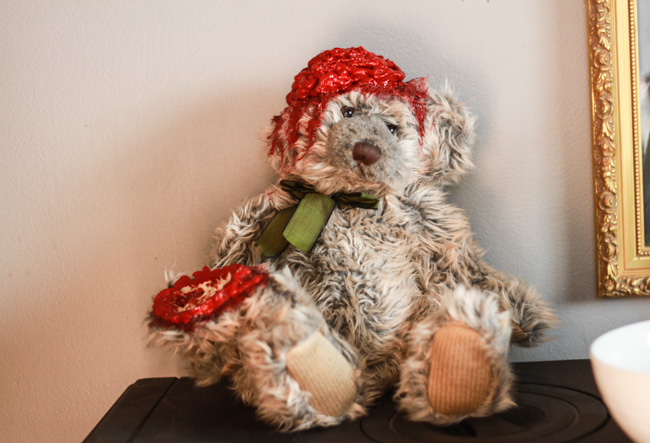
ps. Zombie Teddy has a friend now—Top O’The Mornin’ Teddy.
